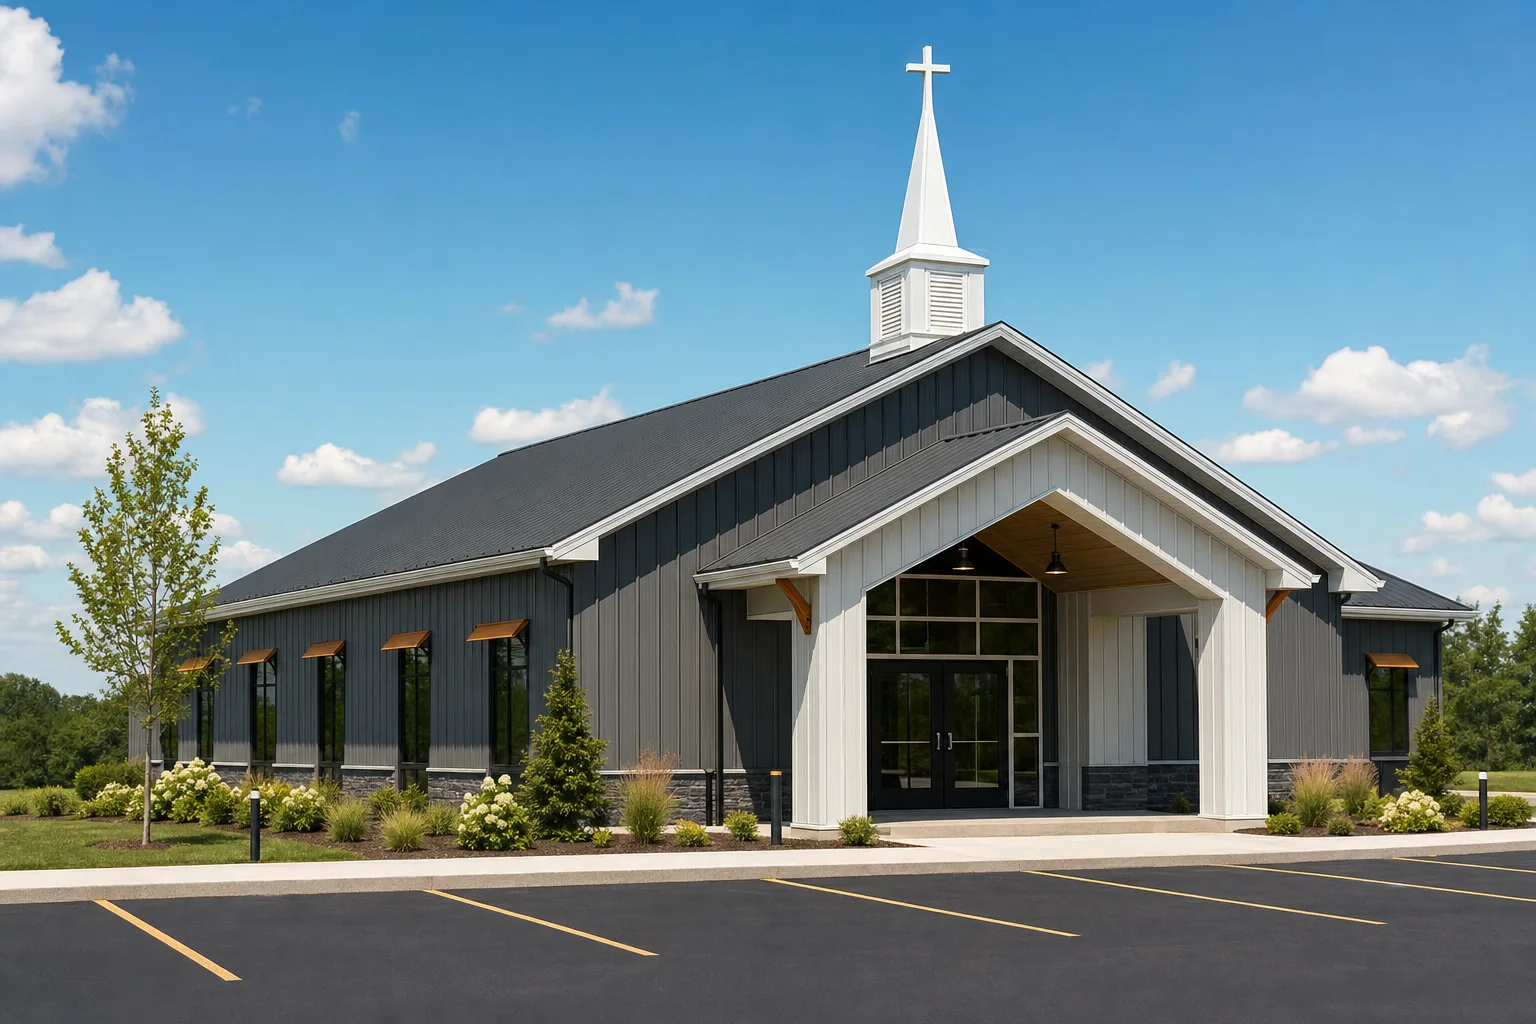
A metal building buying checklist is a short, ordered list of the things to verify before you sign for a steel building kit, so a missed detail does not turn into a costly surprise on delivery day. It runs from defining the use and pulling the permit to matching quotes, confirming the stamped engineering, and checking the load against the packing list when the truck arrives. Work through it in order and most of the expensive mistakes never get the chance to happen.
None of this is hard. The trouble is that the steps spread across weeks and three or four different people, so it is easy to assume someone else checked the thing you skipped. A printed list keeps everyone honest. Run it before you pay the deposit, then again before you pour the slab, then once more the day the steel lands.
Almost every regret we hear traces back to a few skipped checks: a building stamped for the wrong county, a quote that left out the doors, a slab poured to the wrong anchor template. Catch those early and the rest of the build is bolts and patience. This checklist is the front door to our Basics & Buying reference, and each stage links to the guide that goes deeper.
01 / Before you shop
Define the job before you price anything
Price means nothing until you know what you are building. Settle these four before you call a single supplier, because every quote you get is only as good as the brief you give.
- Define the use first. Write down what goes inside, how you will move around it, and whether you will heat or live in it. The use drives every other number on this page.
- Size it to that job, not to the price. Start from the equipment and clearances, then let those set the footprint and clear height. Our size guide maps common footprints to real uses so you are not guessing.
- Confirm the site. Check that the building fits with setbacks, that the ground is level and drains, and that a delivery truck can reach it. A site problem found now is a phone call; found later it is a change order.
- Set a real budget, slab and permit included. The shell is not the total. Add the foundation, permit, delivery, and any interior work before you decide what you can afford.
02 / Comparing quotes
Make every quote describe the same building
Two quotes for the same footprint can land thousands apart, and the gap is usually not the building, it is what each one left off. Line them up part for part before you compare totals.
- Same gauge, coating, and door package across all of them. A lower number often means thinner panels or fewer doors, not a better deal. Force every quote onto the same spec before you read the price.
- Know what is and is not included. Ask each supplier to mark slab, anchors, insulation, doors, windows, gutters, and freight as in or out. The cheapest sticker is often the shortest parts list.
- Lead time in writing. Get the order-to-delivery window on paper, not over the phone. Our quote-reading guide shows exactly which lines to line up.
03 / The spec & engineering
Confirm the building is engineered for you
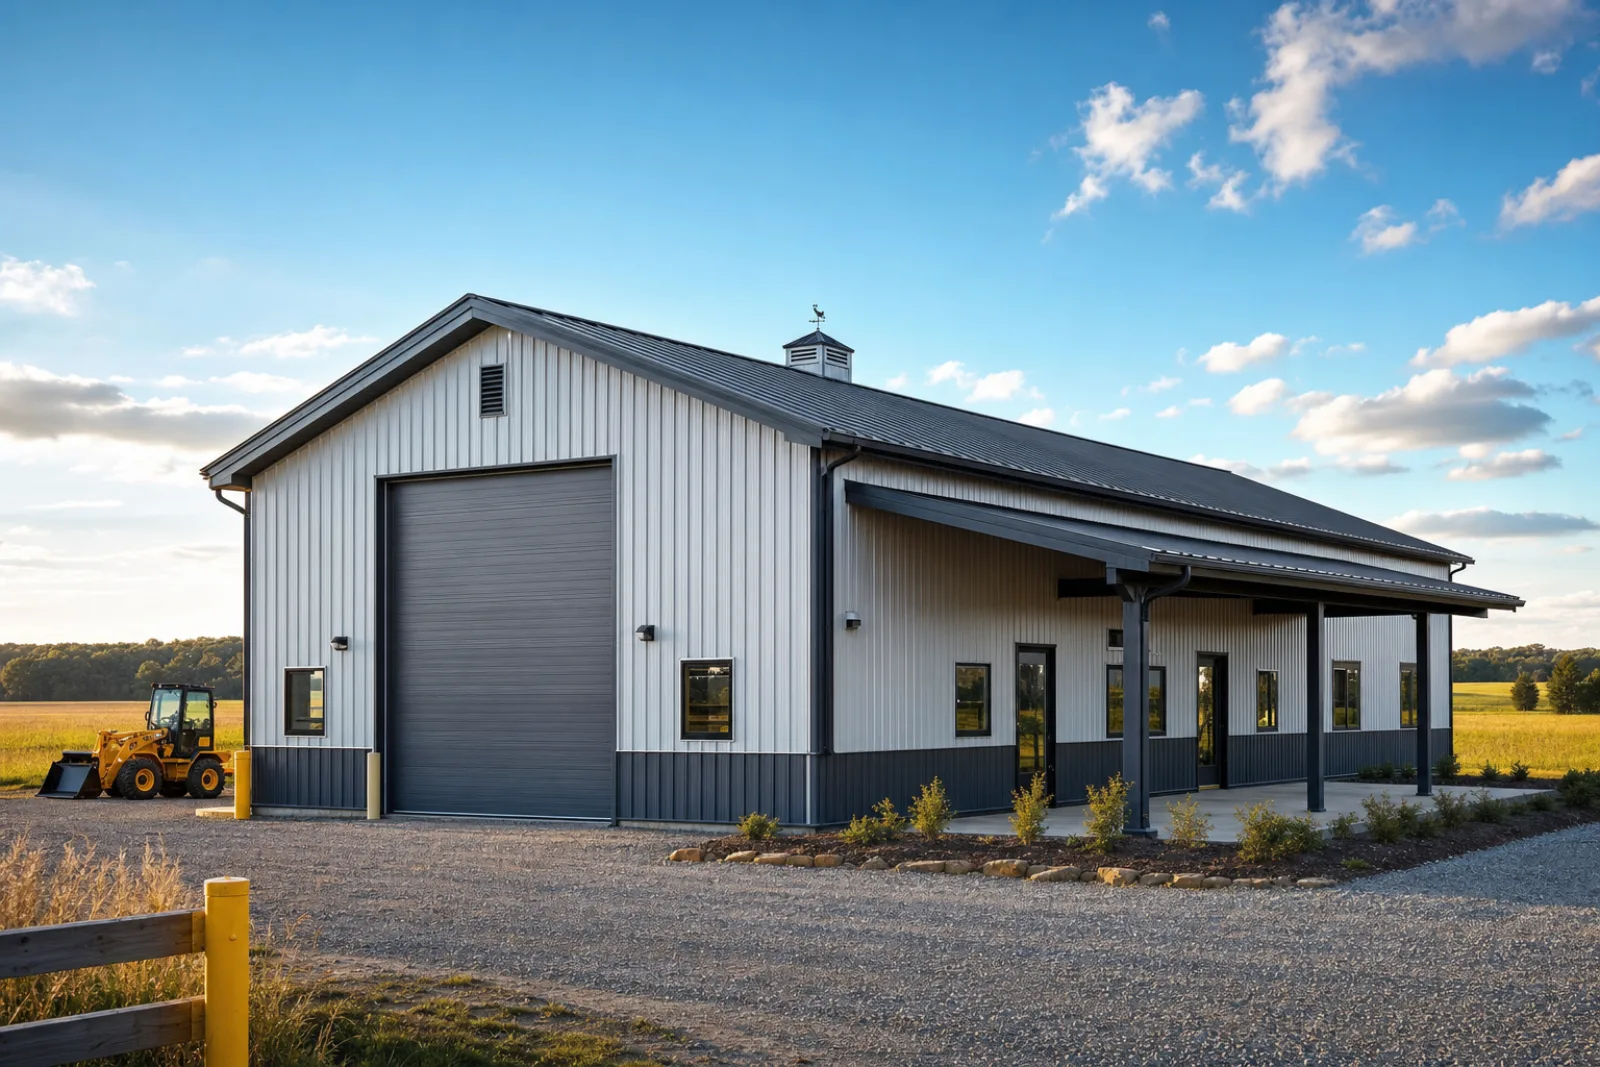
This is the stage people skip and regret most. The engineering is what makes a kit a building instead of a pile of steel, and it is what your inspector reads.
- Stamped, sealed drawings are included. Confirm in writing that the price covers an engineer-stamped drawing set for your project, not a generic plan. Without it, your building department has nothing to approve.
- Stamped for your local loads. The building has to be engineered for your county’s snow and wind loads, not a number off a national chart. A kit sized for a mild state will not pass in snow country.
- Gauge and coating spelled out. The spec sheet should name the panel gauge, the frame type, and the coating, not just say ‘heavy duty.’ Our steel gauge guide explains what those numbers mean.
04 / Site & foundation
Get the ground ready and to spec
The steel arrives on a schedule. The site has to be ready when it does, and the slab has to match the drawings to the inch, because the anchor bolts are not adjustable once the concrete sets.
- Slab or piers sized to the anchor template. Pour to the bolt layout in your stamped drawings, not to a rough sketch. An anchor pattern that is off by inches can hold up the whole raise.
- Permit pulled before the steel ships. Confirm the permit is approved, not just applied for. Building before the permit clears is how a project gets red-tagged.
- Drainage and truck access. Make sure water runs away from the slab and that a loaded delivery truck can reach the pad. Mud and a tight driveway have stranded more than one shipment.
05 / Contract, warranty & payment
Read the paperwork before the deposit
The contract is where the friendly sales call turns into your actual rights. Read it before money changes hands, while you still have leverage.
- Warranty terms in writing. Know what the paint, panel, and frame warranty covers, for how long, and who honors it. A verbal ‘it’s guaranteed’ is worth nothing on year ten.
- Deposit and payment schedule. Understand what you pay up front, what triggers each later payment, and what is refundable if the order falls through. Never wire the full amount before anything ships.
- Who handles freight claims. Settle in advance who files for damaged or missing parts, the supplier or you. Damage found at delivery is far easier to resolve when this is already written down.
- Change-order terms. Know what a mid-project change costs and how it is approved. A door moved after the steel is cut is the kind of change that gets expensive fast.
06 / Delivery & assembly
Check the load and raise it in order
The last stage is where a careful order pays off or a rushed one bites. Two habits cover most of it: count the parts before the truck leaves, and raise the building in the right sequence.
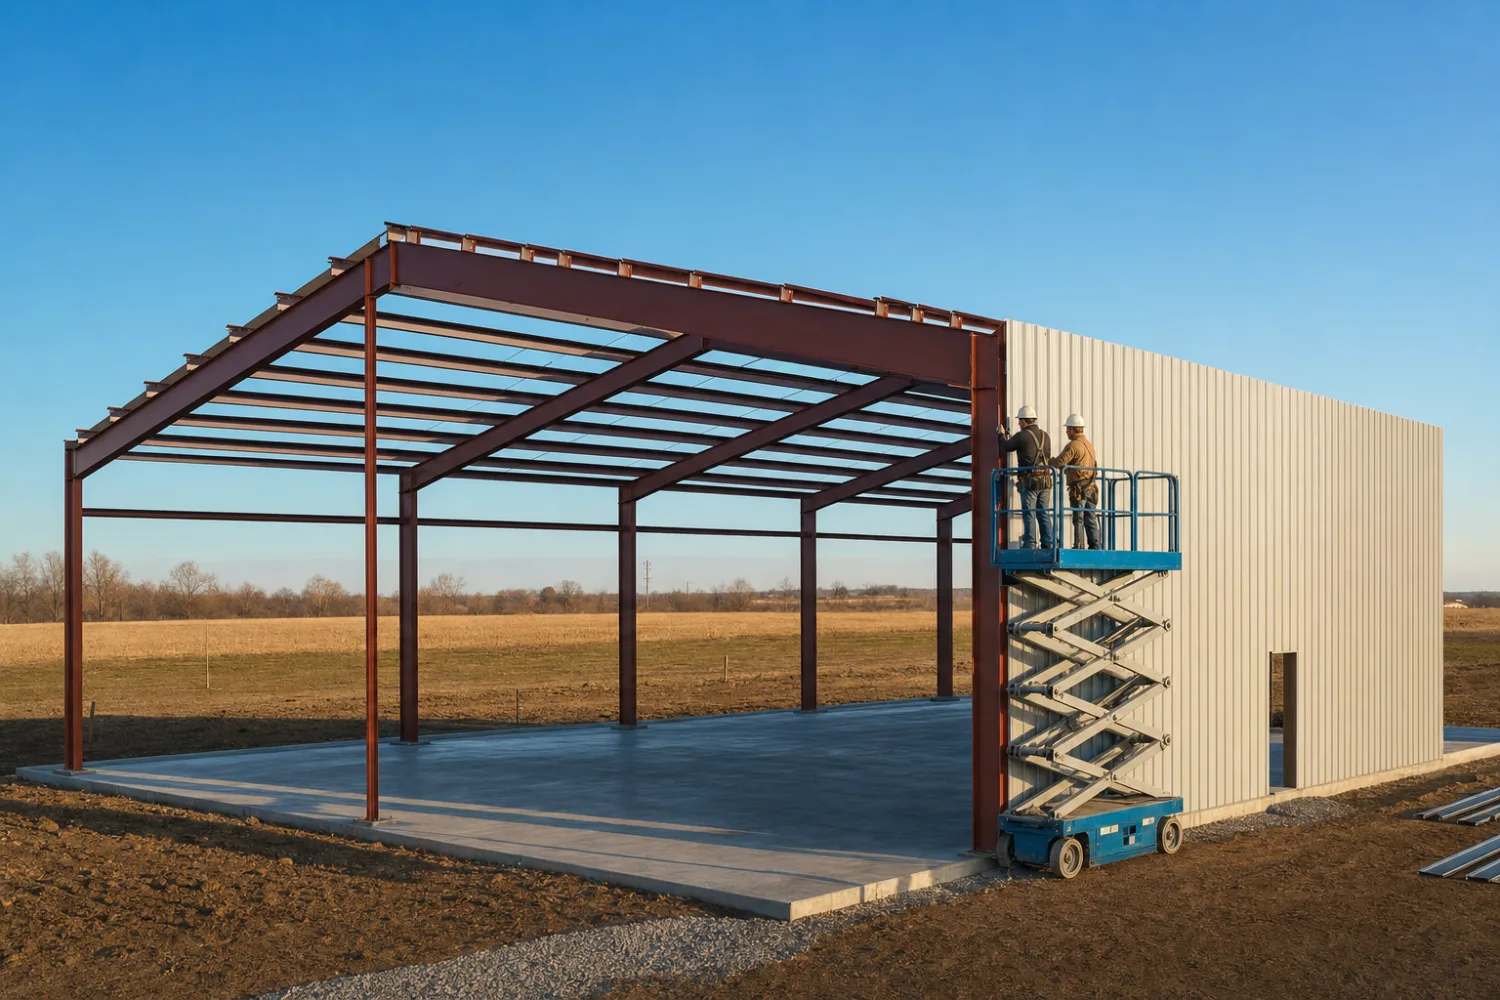
- Check the load against the packing list the day it lands. Count every bundle and inspect for damage before you sign and the truck pulls away. Missing or dented parts are simple to claim now and a headache later.
- Crew or DIY decided in advance. Small kits can be a one or two person job; anything past 30×40 wants a crew of two to four for safe panel and rafter handling. Our construction types guide covers what a DIY raise takes.
- Raise it in sequence. Frame first, then secondary framing, then panels, then trim. Skipping ahead is how a wall ends up out of square with the steel already screwed down.
Red flags
Walk away, or at least slow down, if any of these show up: no stamped drawings in the quote, a price far below every other bid, vague inclusions that never get itemized, or pressure to sign today before the deal disappears. Each one is a classic setup for the regrets in our common buying mistakes guide. A real supplier will put the spec in writing and let you read it.
Quick pass
The 60-second pre-order check
Before you click order or sign the contract, run these five out loud. If you cannot answer all five, you are not ready to buy yet.
- Is the building sized to what goes inside, not to a price?
- Does every quote describe the same gauge, coating, and doors?
- Are stamped drawings for my county’s loads included in writing?
- Is the slab poured, or planned, to the exact anchor template?
- Do I know the warranty, the payment schedule, and who files freight claims?
FAQ
Common questions about buying a metal building
What should be included in a metal building kit?
A complete kit covers the structural shell: the primary frame, secondary framing, roof and wall panels, fasteners and closures, trim, the anchor template, and an engineer-stamped drawing set. Foundation, insulation, doors, windows, and gutters are usually add-ons, so confirm which list you are reading. Our cost guide separates the shell from the extras.
How do I compare two metal building quotes?
Force both onto the same spec first. Match the gauge, the coating, the frame type, and the door package, then check what each one includes for slab, freight, and insulation before you read the totals. A lower price is often a shorter parts list. The quote-reading guide walks through it line by line.
Do I need stamped drawings for a metal building?
In almost every case where you need a permit, yes. Stamped, sealed drawings prove the building was engineered for your local snow and wind loads, and they are what your building department reviews. Confirm they are included in the price, not sold separately later.
What should a metal building warranty cover?
Look for separate terms on the paint finish, the panel substrate, and the structural frame, each with a stated length and a clear claims process. Get it in writing and learn who honors it, the manufacturer or the dealer. See our warranty guide for what the common terms mean.
How do I avoid common metal building buying mistakes?
Define the use before you shop, compare quotes on the same spec, confirm the engineering for your county, budget the slab and permit, and check the load on delivery day. Most regret comes from skipping one of those, not from picking the wrong brand. Our mistakes guide covers the rest.
What do I check on delivery day?
Count the load against the packing list and inspect every bundle for damage before you sign and the truck leaves. Note anything missing or dented on the delivery paperwork on the spot, because a freight claim is far easier to win with that record. Then stage the parts in raise order so assembly runs frame, secondary framing, panels, and trim.
Keep exploring
Where to go from this checklist
This checklist sits inside the Basics & Buying pillar, which is the full guide to what a steel building kit is, how the steel is graded, and how the buying process runs from first quote to final bolt. Start there if you are early in the decision and want the whole picture before you work this list.
Three reference tools pair with this one: the size chart for matching a footprint to your use, the glossary for decoding the terms suppliers put in a quote, and the cost guide for budgeting the slab, permit, and extras the sticker price leaves out.