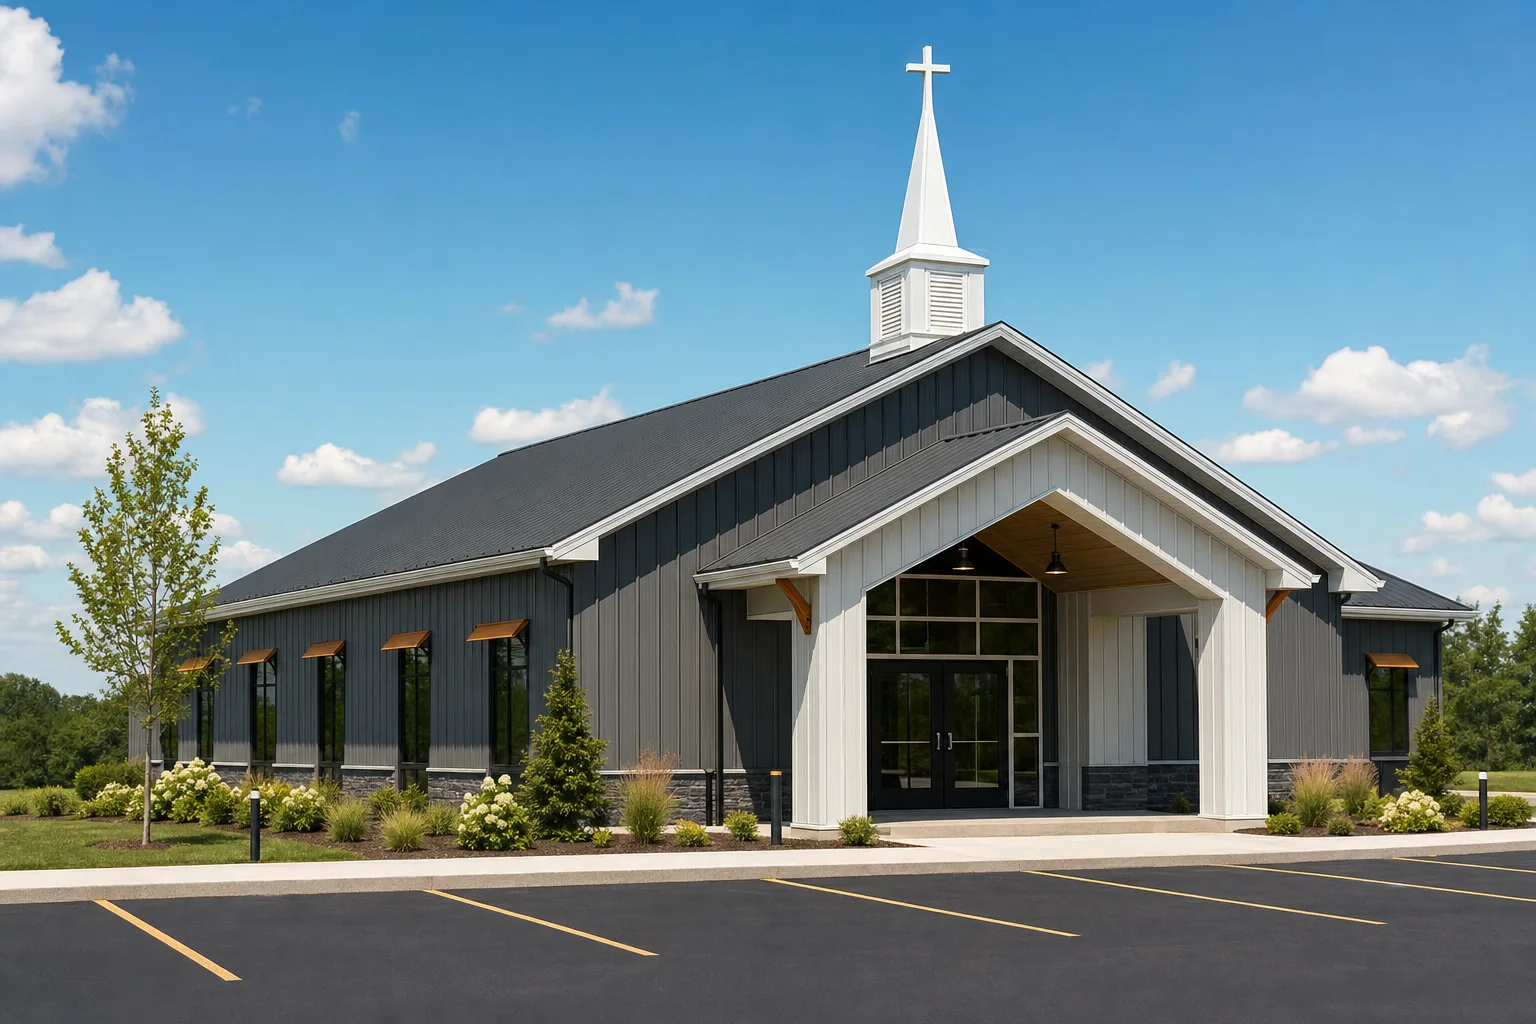
A metal building goes up in a fixed order: prep the site and cure the slab, take delivery and stage the parts, set the anchor bolts and base, raise the primary frame of columns and rafters, install the secondary framing of purlins and girts, then sheet the roof and walls and finish the trim. The sequence is not optional. Each step locks the one before it, so the foundation has to be right before the steel arrives, and the frame has to stand square before a single panel goes on.
This guide sits under the construction types pillar and gives you the overview, not the manual. Read it to understand how the pieces come together and where the work gets serious, then follow the linked guides for the detail on tools, timelines, and whether the job is one you should take on yourself.
Before you start
What to settle before the first part moves
Three things decide whether the build goes smoothly: the slab, the crew, and the gear. Get the foundation poured and cured to the stamped plan, line up enough hands for the day you raise steel, and confirm you have the lift and the tools the kit calls for. A small carport can go up with two people and hand tools. A wide red iron shop wants a crew and a forklift or boom, so be honest about the scale before you commit.
Plan the calendar too. Concrete needs days to cure before it carries a frame, and the steel can arrive on its own schedule, so the order of operations matters as much as the steps themselves. For a realistic window from slab to finished shell, see how long assembly takes, and to judge whether this is a job for you or a crew, read can you build it yourself first.
Safety first, every step
Steel is heavy and the work happens at height, so treat safety as part of the plan, not an afterthought. Wear gloves, eye protection, and steel-toe boots, keep hands clear of pinch points when members swing into place, and never stand under a load. Use fall protection on the roof and a spotter on the lift. If a lift feels unsafe with the hands you have, stop and add help. No panel is worth an injury.
Step 1 / Site and slab
Prep the site and cure the slab
The build starts in the dirt, not the steel. Clear and level the pad, set the forms to the building footprint, and pour the foundation your engineering calls for, then let it cure before anything heavy lands on it. The slab is the reference for everything above it, so a foundation that is out of level or out of square carries that error up through the whole frame.
Match the foundation to the building. A light carport may sit on a different base than a wide clear-span shop, and the stamped plan tells you which. Our foundation options guide walks the slab, pier, and footing choices and where each one fits, so confirm the type and thickness before the truck shows up with concrete.
Cure time is the part buyers rush and regret. Fresh concrete gains strength over days, and setting anchor bolts or raising a frame too early can crack a slab that was not ready. Give it the cure the mix calls for, keep it from drying too fast in heat, and you start the steel on a base that will not move under it.
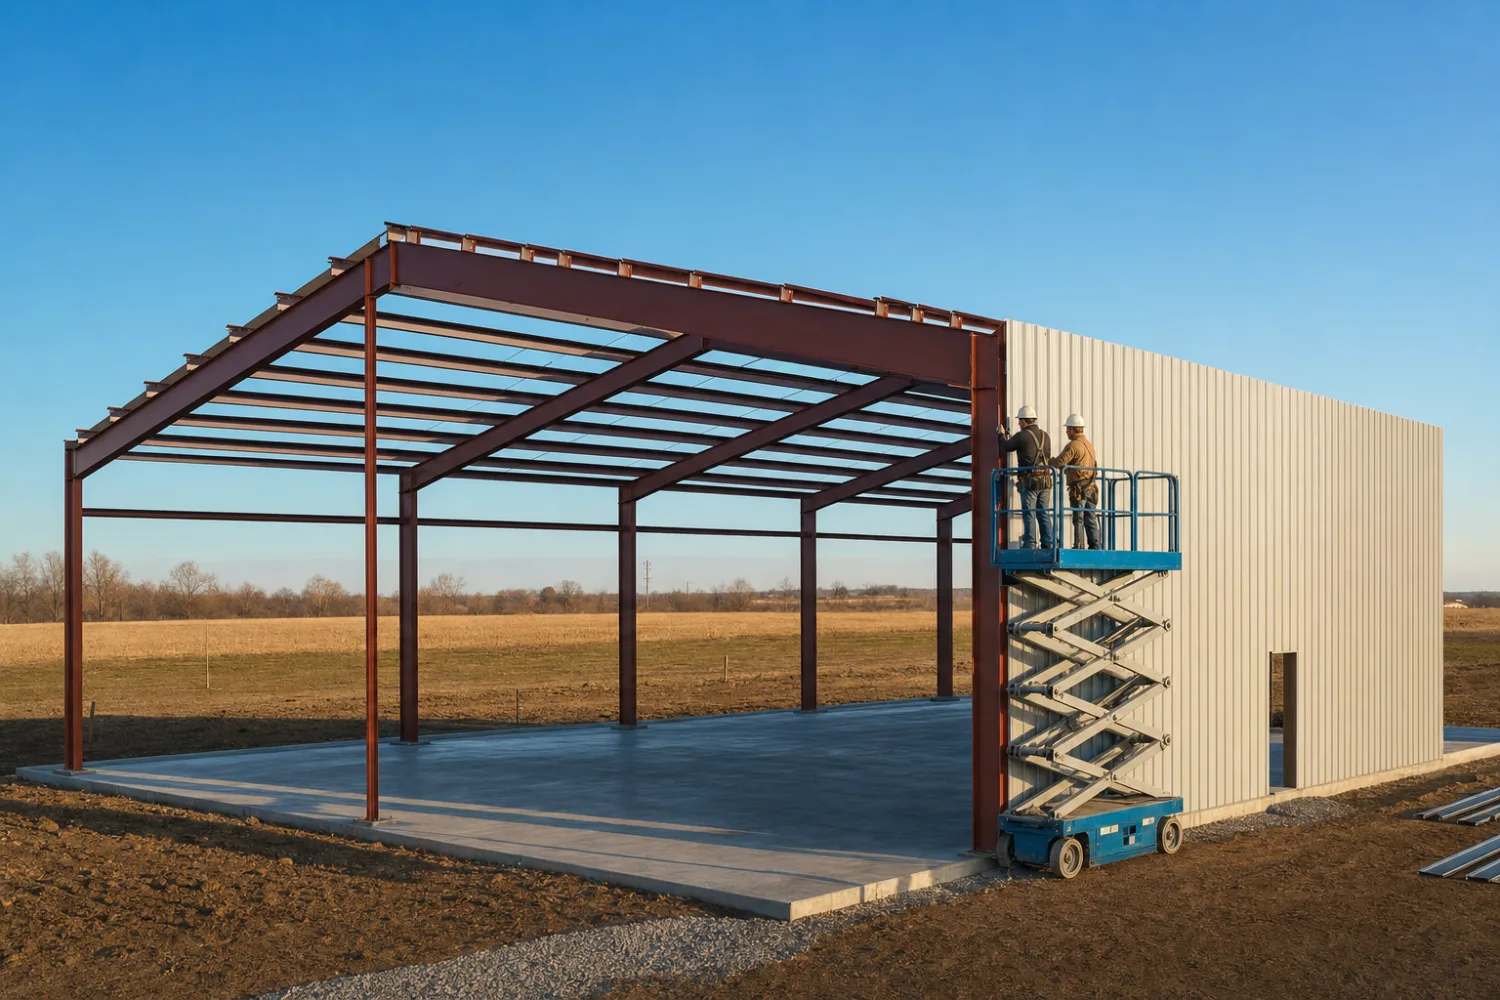
Step 2 / Delivery and staging
Take delivery and stage the parts
When the kit arrives, your job is to receive it carefully and lay it out so the build flows. Check every bundle against the packing list before the driver leaves, note any shortage or shipping damage in writing, and set the parts where you will need them rather than in one pile you have to dig through later.
Stage by sequence. Columns and rafters go up first, so keep them reachable near where they raise; purlins, girts, and panels come later, so they can sit further back. Good staging saves hours on raising day, because nobody is hunting for a part while a member hangs on the lift. For what to expect on the truck and how to prep the access, see delivery and site prep.
Sort the fasteners and small parts while you are at it. Bolts, self-drilling screws, clips, and trim each have a place in the sequence, so bin them by step and keep the drawings handy. Confirm you have the tools and the lift on site now, not on the morning you plan to raise steel.
Step 3 / Anchors and base
Set the anchor bolts and base plates
The anchors tie the building to the foundation, and they have to land exactly where the plans put them. Set the bolt pattern to the drawing, check it square and to the right spacing, and confirm the projection height before the concrete locks them. A base plate that does not meet its bolts is the kind of error that stops a build cold.
There is more than one way to anchor, and the right one depends on the foundation and the loads. Cast-in-place bolts, wedge anchors, and epoxy anchors each have a place, which our anchoring systems guide lays out. The anchors transfer wind uplift and lateral load into the slab, so this is not a spot to substitute hardware or eyeball the layout.
With the bolts set and the base plates ready, you have the connection points the columns drop onto. Double-check the diagonal measurements one more time, because once the frame goes up, fixing a misplaced anchor means working around steel that is already standing. Get this right and the foundation and the frame meet clean.
Step 4 / Primary frame
Raise the primary frame: columns and rafters
This is the big day. The primary frame is the columns and rafters that carry the whole building, and raising it is the heaviest and most exacting part of the job. Stand the columns on their base plates, bolt them to the anchors, then lift the rafters and connect them at the ridge and the column tops to form each rigid frame, or bent.
Brace as you go, and keep it square and plumb. A frame is not stable until it is tied together and braced, so set temporary bracing on the first bent and check it for plumb before you raise the next. The cable or rod bracing in the kit holds the frame against wind and racking, and it goes in during the raise, not after. On most kits the members bolt together, the method our bolt-up kits guide covers in full.
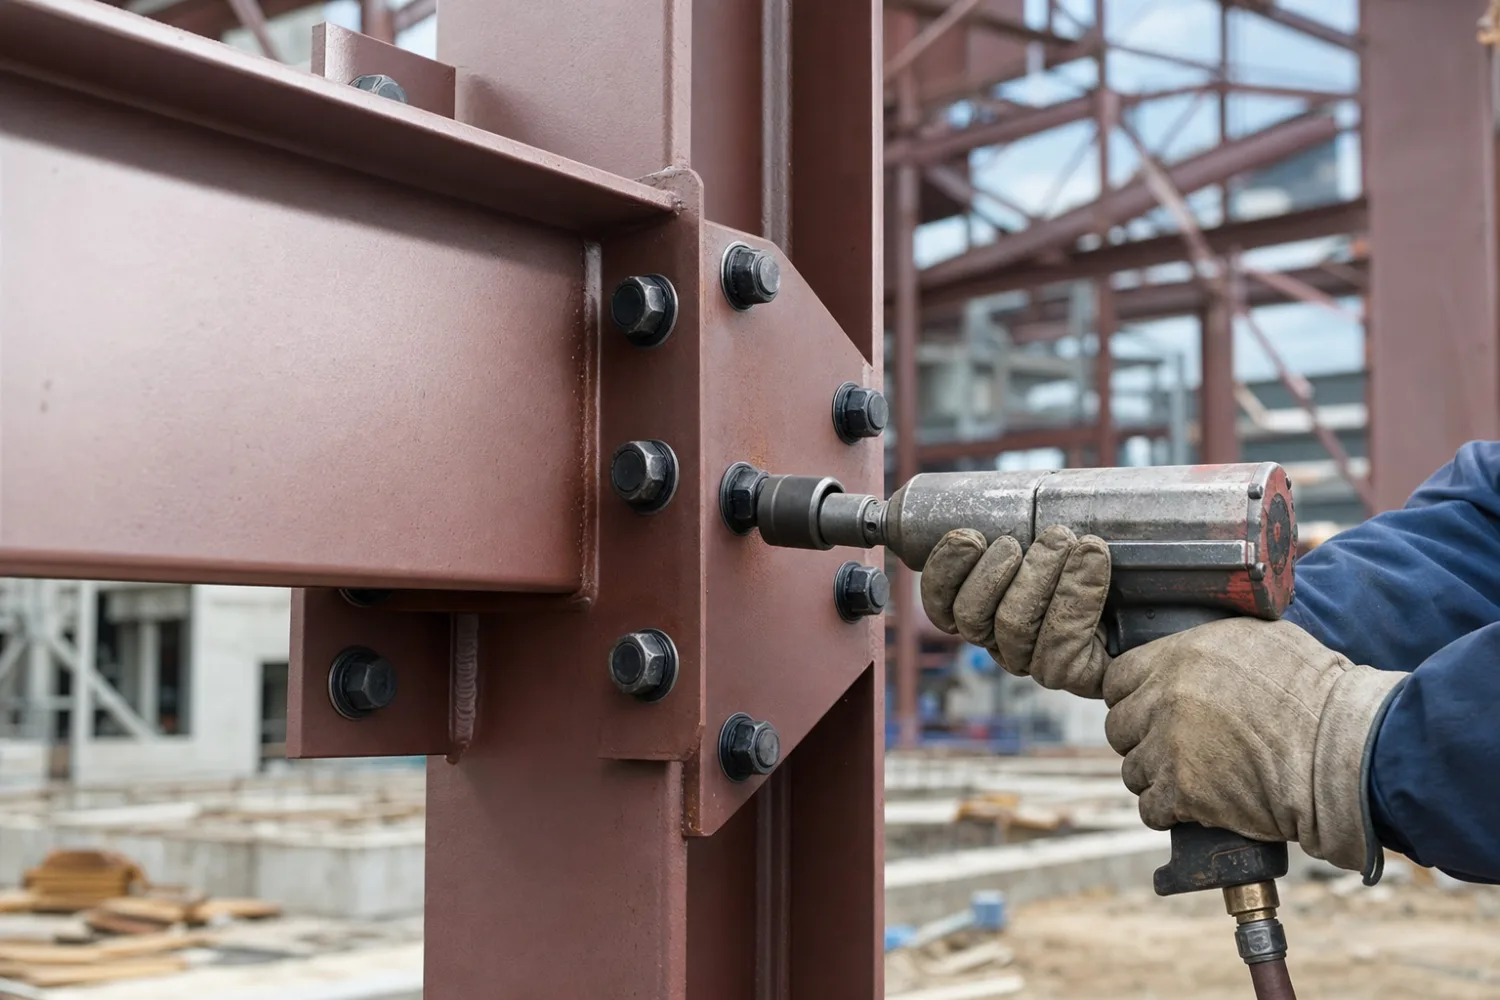
Scale sets the gear and the crew. Light tube frames raise with a few people and hand tools, while a wide red iron frame wants a forklift or boom and a crew that knows the lift. This is the step where buyers most often decide the job is bigger than they planned, so read whether to build it yourself before you reach this point, not during it.
Step 5 / Secondary framing
Install the secondary framing: purlins and girts
With the primary frames standing and braced, you tie them together with secondary framing. Purlins run along the roof between rafters, and girts run along the walls between columns. Together they hold the frames in line, carry the panels, and turn a row of separate bents into one connected structure.
Work to the drawing spacing. Purlins and girts mount at set intervals because the panels and the load path depend on it, so follow the plan rather than eyeballing the gaps. As the secondary framing goes in, the building stiffens and the temporary bracing earns its keep, holding everything true until the panels add their own rigidity.
This step also sets up the shell. The girts give the wall panels something to fasten to, and the purlins do the same for the roof, so clean, square secondary framing is what makes the sheeting go fast and sit flat. A frame that is true here saves you fighting crooked panels in the next step.
Step 6 / Sheeting and trim
Sheet the roof and walls, then trim it out
The last step is the shell. Sheet the roof first so the building is dry, then the walls, fastening each panel to the purlins and girts with the screws the kit specifies. Set the panels straight off a chalk line, overlap them the right way, and keep the screw lines even, because the sheeting is the most visible part of the finished building.
Trim closes it up and keeps the weather out. Ridge cap, eave and gable trim, corner trim, and the closures at the panel ends seal the joints and finish the look. Hang the doors and windows into their framed openings, set the flashing, and the building is weather-tight. Take your time on the trim; it is where a rushed job shows.
How long the whole sequence takes depends on the size and your crew. A small kit can finish in a weekend, while a large shell runs days or more with the right hands. For a realistic schedule from slab to trim, see how long assembly takes, and for the wider DIY picture, the DIY metal building kits guide ties the whole job together.
Build in order and respect each step. The slab sets the square, the frame sets the line, and the panels only look as good as the framing under them.
FAQ
Metal building assembly: common questions
What are the steps to build a metal building?
Six in order: prep the site and cure the slab, take delivery and stage the parts, set the anchor bolts and base plates, raise the primary frame of columns and rafters, install the secondary framing of purlins and girts, then sheet the roof and walls and finish the trim. Each step depends on the one before it, so the order is fixed.
What goes up first?
The primary frame goes up first once the slab and anchors are ready. You stand the columns on their base plates and bolt them to the anchors, then lift the rafters and connect them to form each rigid frame. Everything else, the purlins, girts, and panels, attaches to that frame.
Do you need the slab before the steel?
Yes. The foundation has to be poured, cured, and the anchor bolts set before the frame goes up, because the columns land on those anchors and the slab carries the whole load. Raising steel on green concrete or an out-of-square pad builds an error into the whole structure. See our foundation options guide for the base your building needs.
What is the hardest step?
Raising the primary frame. It is the heaviest, most exacting part of the job, and it usually needs a lift and a crew, especially on wide red iron buildings. Keeping the frame square, plumb, and braced as you go is where the skill shows. Read whether to build it yourself before you reach it.
Can you stop partway and finish later?
Within reason. A natural pause is after the frame and secondary framing are up and braced, but a braced frame still needs to be secure against wind, so do not leave it part-raised or under-braced. The better break point is a dried-in shell, with the roof on, so weather is not a concern while you finish the walls and trim.
How long does the whole build take?
It depends on the size and the crew. A small carport or garage kit can go up in a weekend, while a large clear-span shell runs several days or more with experienced hands. Site prep and slab cure happen before any of that. Our assembly time guide breaks the schedule down by building size.
Related guides
Keep reading
This overview connects to the detail on tools, time, and the build decision. Follow these next:
- Construction types & DIY (the parent pillar).
- Tools needed to assemble a kit and how long assembly takes (gear and schedule).
- Can you build a metal building yourself and DIY metal building kits guide (the build decision).
- Bolt-up metal building kits (how the connections go together).
- Foundation options, anchoring systems, and delivery and site prep (the work before the steel).
- Metal building buying checklist (every item to confirm before you order).