To assemble a metal building kit you need four groups of tools: a way to lift and reach the frame, a way to fasten it, a way to lay it out, and the gear to do it safely. That means a lift or scaffold, an impact wrench with sockets and a self-drilling screw gun, a level, chalk line, and tape, and PPE with a harness. None of it is exotic. The one item that decides whether the build goes smoothly is the lift, because raising and holding steel is the hard part, not turning the bolts.
This guide sits under our Construction Types & DIY pillar. Below: the full tool list grouped by job, why the lift is the make-or-break piece, the fastening and layout gear you cannot skip, whether to rent or buy each item, and what changes when the building gets bigger. A bolt-up kit is assembly, not fabrication, so the tools are about handling and accuracy more than horsepower.
The short list
What tools you need to build a metal building
The tool list for a bolt-up kit is short and falls into four groups: lifting and access, fastening, layout, and safety. A metal building kit arrives pre-cut and pre-punched, so you are not cutting or drilling structural steel in the field. You are lifting members into place, bolting them, screwing on panels, and keeping everything square. The table sorts the core tools by the job each one does.
| Group | Tool | What it does on the build |
|---|---|---|
| Lifting and access | Telehandler, boom, or scissor lift | Raises and holds heavy rafters and columns |
| Lifting and access | Scaffold and ladders | Reaches eave height to bolt and screw |
| Fastening | Impact wrench and sockets | Torques the structural frame bolts |
| Fastening | Self-drilling screw gun | Fastens roof and wall panels |
| Fastening | Torque wrench | Confirms structural bolts to spec |
| Layout | Tape, chalk line, level | Sets the frame square and plumb |
| Layout | String line and square | Checks diagonals and panel alignment |
| Safety | PPE and fall harness | Protects the crew working at height |
The core tool list, grouped by job. Most owners already own the small tools and rent the lift.
That is the working kit for a small to mid-size building. The list grows with the span and the height, but the categories stay the same. Before you order, walk our step-by-step assembly overview so you know which tool comes out at which stage, and read the can you build it yourself guide for the honest read on whether the lift work is within your reach.
Lifting and access
Lifting and access: the make-or-break tools
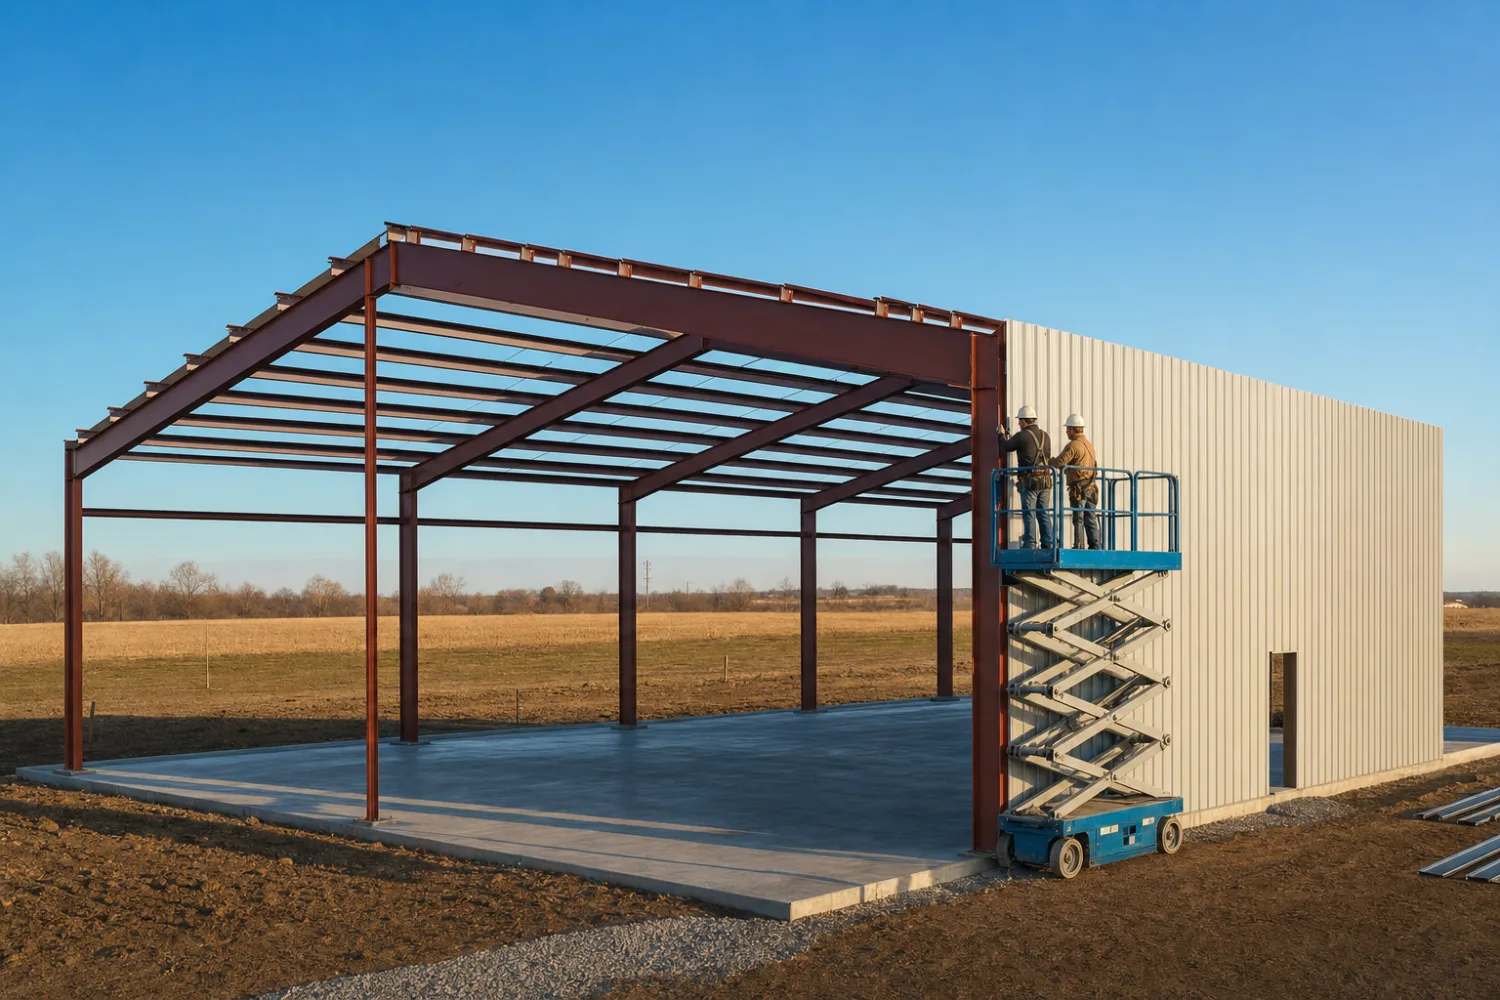
The lift is the single most important tool on the job. Raising columns and setting rafters is the hard, heavy, dangerous part of the build, and the right machine turns it from a struggle into a controlled lift. On anything past a small carport, you want a telehandler, a boom lift, or a crane to raise the primary frame and hold it while you bolt the connections.
Access comes next. Once the frame is standing, you work at eave height to bolt secondary framing and screw on panels, so you need a safe way to reach it. Scaffold gives you a stable platform along a wall; a scissor lift moves you up and down fast; sturdy ladders cover the spots a platform cannot. A small building can lean on ladders and a couple of helpers, but the taller the wall, the more a powered platform earns its rental.
The lift is where DIY builds succeed or stall
You can own every wrench on the list and still get stuck on frame day without a way to lift steel. A telehandler or boom rental for the frame raise is the difference between a smooth weekend and a dangerous one. Budget for it, and read the DIY kit guide for how owners stage the lift. If the lift is out of reach, that is the signal to hire the frame crew and finish the rest yourself.
Hand-raising steel is where owners get hurt. A light tube-frame carport can go up by hand with two or three people, but a red iron rafter is too heavy and too high to muscle safely. Match the lift to the steel, not to your optimism, and never let the crew under a load that a machine should be holding.
Fastening
Fastening tools: wrenches, sockets, and screw guns
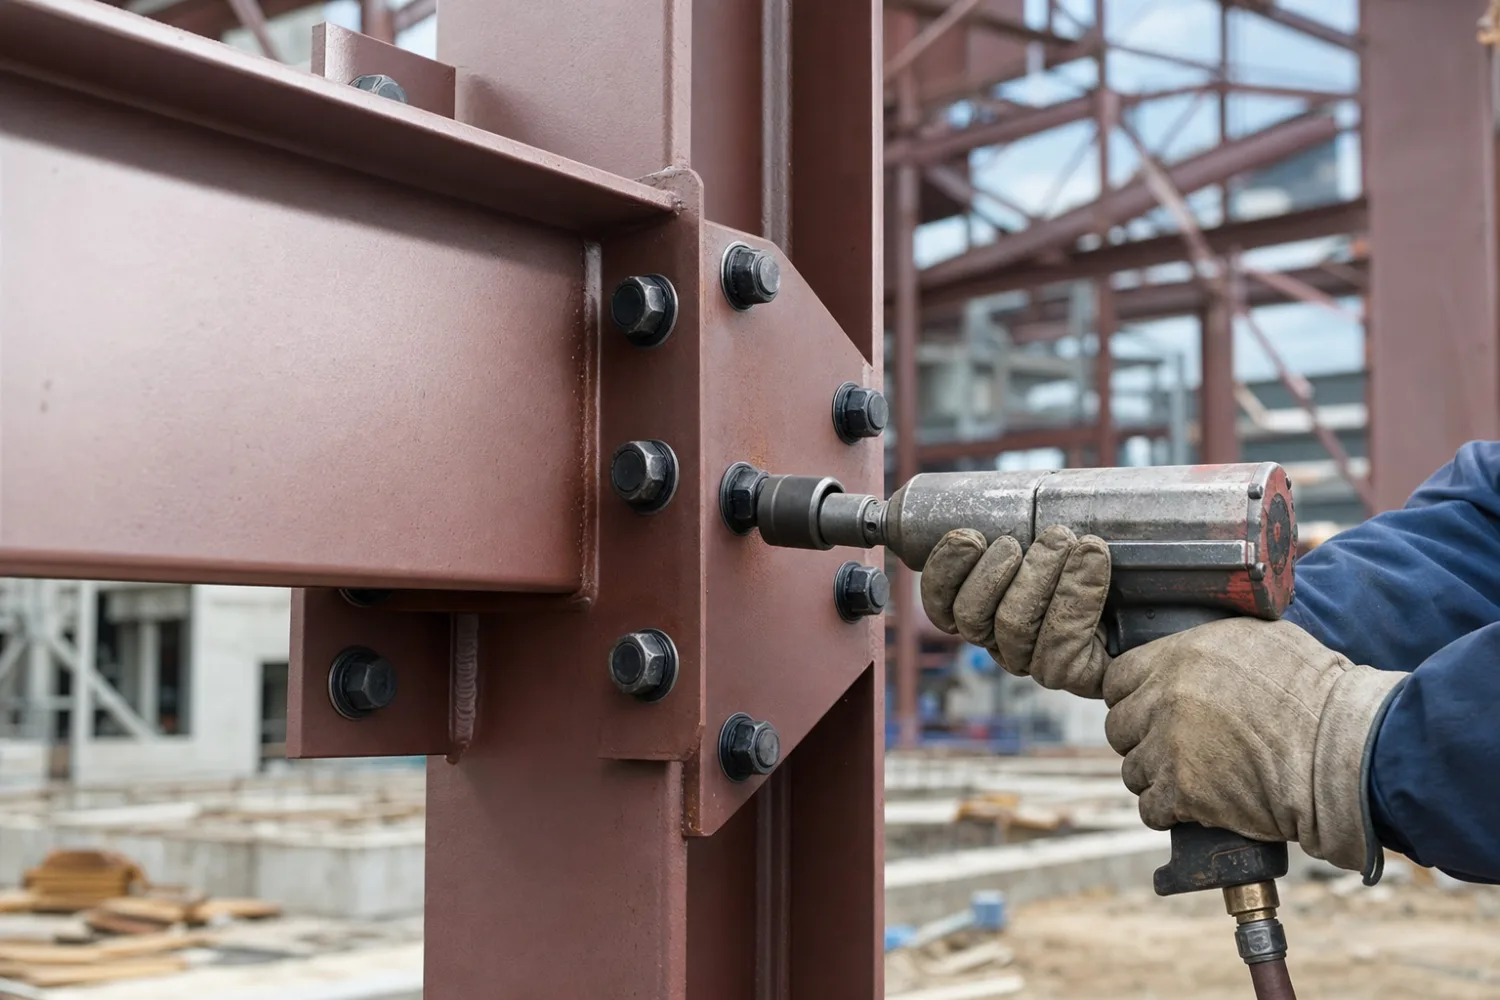
Fastening a bolt-up kit takes two power tools and a way to confirm torque. An impact wrench drives the structural frame bolts, and a self-drilling screw gun fastens the roof and wall panels. Add a torque wrench to verify the structural connections, a full socket set to match the bolt sizes in your kit, and a set of drift pins to line up holes that sit a hair off.
A mid-size cordless impact wrench handles most kit bolts ‹confirm›, and the screw gun wants an adjustable depth-sensing clutch so it seats panel screws without crushing the washer. The screws are self-drilling, so you do not pre-drill the panels. Torque is the discipline that matters: structural bolts are tightened to a number from your drawings, not guessed, which is one of the checks the buying checklist tells you to confirm before you sign.
You do not need a welder or a steel saw. That is the whole point of a bolt-up kit: the factory did the cutting and punching, so the field work is fastening, not fabrication. A weld-up building is different and pulls in welders, grinders, and saws, which is one more reason most owner-built jobs are bolt-up from the start.
Layout and safety
Layout and safety: getting it square and getting home
Layout tools keep the building square and plumb, and safety gear keeps the crew intact. The frame only fits if the slab and the anchors are laid out true, so a tape, a chalk line, a level, a string line, and a framing square earn their place from the first measurement. Check the diagonals before you trust the corners; a square base is what lets the pre-punched holes line up later.
Safety gear is not optional on a job that puts people at height under heavy steel. Hard hats, work gloves, eye protection, and steel-toe boots are the baseline, and a fall harness with an anchor point is required the moment anyone leaves the ground. Metal panels have sharp edges, so cut-resistant gloves save hands, and a first-aid kit on site is the bare minimum for a crew handling steel.
A few helpers in the layout group do more than their size suggests. A laser level speeds up checking that columns are plumb and eaves are level across a long wall, and a magnetic torpedo level sticks to steel for quick checks at the joint. Accuracy at layout is what keeps the build on schedule, because a frame that drifts out of square slows every step after it, as our assembly timeline guide explains.
Rent vs buy
Should you rent or buy the tools?
Buy the small tools you will use again; rent the big machine you will use once. An impact wrench, screw gun, levels, and hand tools are worth owning, because they pay for themselves across a build and stay useful afterward. The lift is the opposite: a telehandler or boom rents by the day or week ‹confirm›, and buying one for a single building makes no sense.
| Tool | Rent or buy | Why |
|---|---|---|
| Impact wrench and screw gun | Buy | Used all day, every day of the build, and useful after |
| Levels, tape, chalk line | Buy | Cheap, reusable, and you will own them anyway |
| Telehandler or boom lift | Rent | Used for the frame raise only; daily rental beats ownership |
| Scaffold | Rent | Bulky to store; rent for the wall and roof stage |
| Fall harness and PPE | Buy | Personal gear; own it and inspect it before each use |
A rough rent-versus-buy split. Own the small tools, rent the lift and scaffold.
Time the rental to the work, not the whole project. You only need the lift for the days you raise the frame, so stage the build and book the machine for that window instead of the full timeline. The rental cost is a real line in a DIY kit budget, and underbooking it is a common way owners stall mid-raise with steel on the ground and no way to lift it.
Factor in the operator. A telehandler or boom is only useful if someone can run it safely, and if nobody can, hiring an operator for the frame days is cheaper and far safer than learning on a loaded lift.
Bigger buildings
What changes for a bigger building
The tool categories stay the same as the building grows, but the lift gets bigger and the margin for error gets smaller. A wide red iron shop wants a telehandler or crane with the reach and capacity for tall, heavy rafters, where a small tube carport might go up with ladders and muscle. The fastening and layout tools do not change much; the lifting equipment scales with the steel.
Crew size scales too. A small kit is realistic for two capable people, but a wide or tall building wants three or four hands plus someone running the lift, because raising a long rafter takes a spotter on each end and a hand at the column. That is where the build-it-yourself read turns honest: the wrench work stays easy, but the lift and the crew are what a bigger building demands.
Bigger buildings also reward better access. Longer walls and higher eaves make scaffold and a scissor lift worth the rental, because climbing ladders all day on a 50-foot wall is slow and tiring. The framing steel itself drives a lot of this, which is why it helps to settle on red iron or tube steel before you size the tools, since the frame weight sets the lift you need.
When the tooling list outgrows your comfort, that is the signal to hire help for part of the build. Many owners rent the lift and bring in a crew for the frame raise, then finish the panels, trim, and doors themselves with the hand tools they own. Splitting the job keeps the dangerous, equipment-heavy stage in skilled hands and the steady work in yours.
FAQ
Tools to build a metal building: common questions
What tools do you need to build a metal building?
Four groups: lifting and access (a telehandler, boom, or scissor lift plus scaffold and ladders), fastening (an impact wrench with sockets, a self-drilling screw gun, and a torque wrench), layout (tape, chalk line, level, string line, and a square), and safety (PPE plus a fall harness). A bolt-up kit ships pre-cut and pre-punched, so you do not need a welder or a steel saw.
Do you need a lift or boom to build a metal building?
For anything past a small carport, yes. Raising columns and setting rafters is the heavy, dangerous part of the build, and a telehandler, boom, or crane lifts the steel and holds it while you bolt the connections. A light tube-frame carport can go up by hand with two or three people, but a red iron rafter is too heavy and too high to raise safely without a machine. The lift is the make-or-break tool on the job.
Can you build a metal building with hand tools?
On a small, light kit, mostly yes. A tube-frame carport or small garage can go up with hand tools, ladders, an impact wrench, and a screw gun if you have a couple of helpers. Past that size the weight of the steel makes a lift necessary, no matter how good your hand tools are. The honest version of this is in our can you build it yourself guide.
What size impact wrench do you need?
A mid-size impact wrench handles most kit bolts ‹confirm›, and a good cordless model with a couple of spare batteries will run through a full day. The exact size and torque depend on the bolt grade and diameter your kit uses, so check the drawings and the fastener spec rather than guessing. The key is having enough torque to seat the structural bolts, then confirming them with a torque wrench.
Should you rent or buy the tools to build a metal building?
Buy the small tools and rent the big machine. An impact wrench, screw gun, levels, and hand tools are worth owning because you use them all day and keep them afterward. The lift and the scaffold are worth renting, because you need them for the frame and wall stages only. Booking the lift for just the days you raise the frame keeps the rental line in a DIY budget under control.
Do you need a welder to assemble a kit?
No. A bolt-up kit is fastened with structural bolts and self-drilling screws, and the factory already cut and punched the steel, so there is no field welding or cutting. A weld-up building is the exception and does need a welder and a steel saw, which is one reason most owner-built jobs are bolt-up. The construction types pillar covers the difference.
Related guides
Keep reading
Tools are one piece of the build. These guides cover the rest of the assembly decision:
- Construction Types & DIY (the parent pillar).
- Step-by-step assembly overview (the order a kit goes up, tool by tool).
- Can you build a metal building yourself? (the honest DIY read).
- DIY metal building kits guide (planning and budgeting an owner build).
- How long does assembly take? (the timeline the tools have to keep up with).
- Metal building buying checklist (what to confirm before you order).