To build a metal building you need tools in four groups: a way to lift and reach the steel, a way to fasten it, a way to lay it out square, and the gear to do it safely. In practice that means a powered lift or scaffold, an impact wrench with sockets and a self-drilling screw gun, a tape, chalk line, and level, and PPE with a fall harness. A bolt-up kit ships pre-cut and pre-punched, so you do not need a welder or a steel saw to put it together.
This page sits under the metal building construction types pillar and answers the tool question on its own terms: the full list grouped by job, why the lift is the one item that decides whether the build goes smoothly, and what you can skip. The wrench work is the easy part. Lifting and holding the steel is the hard part, so the tools are about handling and accuracy more than horsepower.
The tool list
The full tool list, grouped by job
The list is short and falls into four groups: lifting and access, fastening, layout, and safety. A metal building kit arrives engineered to your width, length, and height, pre-cut and pre-punched, so you are not fabricating structural steel in the field. You are lifting members into place, bolting them, screwing on panels, and keeping the frame square and plumb. The table sorts the core tools by the job each one does.
| Group | Tool | What it does on the build |
|---|---|---|
| Lifting and access | Telehandler, boom, or scissor lift | Raises and holds heavy columns and rafters |
| Lifting and access | Scaffold and ladders | Reaches eave height to bolt and screw |
| Fastening | Impact wrench and sockets | Torques the structural frame bolts |
| Fastening | Self-drilling screw gun | Fastens the roof and wall panels |
| Fastening | Torque wrench | Confirms structural bolts to the drawing spec |
| Layout | Tape, chalk line, level | Sets the frame square and plumb |
| Layout | String line and framing square | Checks diagonals and panel alignment |
| Safety | PPE and fall harness | Protects the crew working at height |
The core tool list, grouped by job. Most owners already own the small tools and rent the lift.
That is the working kit for a small to mid-size building. The list grows with the span and the height, but the categories stay the same. For the stage-by-stage version, where each tool comes out at which point in the build, see our tools needed to assemble a kit guide and the step-by-step assembly overview.
The lift
Why the lift is the make-or-break tool
The lift is the single most important tool on the job. Raising columns and setting rafters is the heavy, dangerous part of the build, and the right machine turns it from a struggle into a controlled lift. On anything past a small carport, you want a telehandler, a boom lift, or a crane to raise the primary frame and hold it while you bolt the connections.
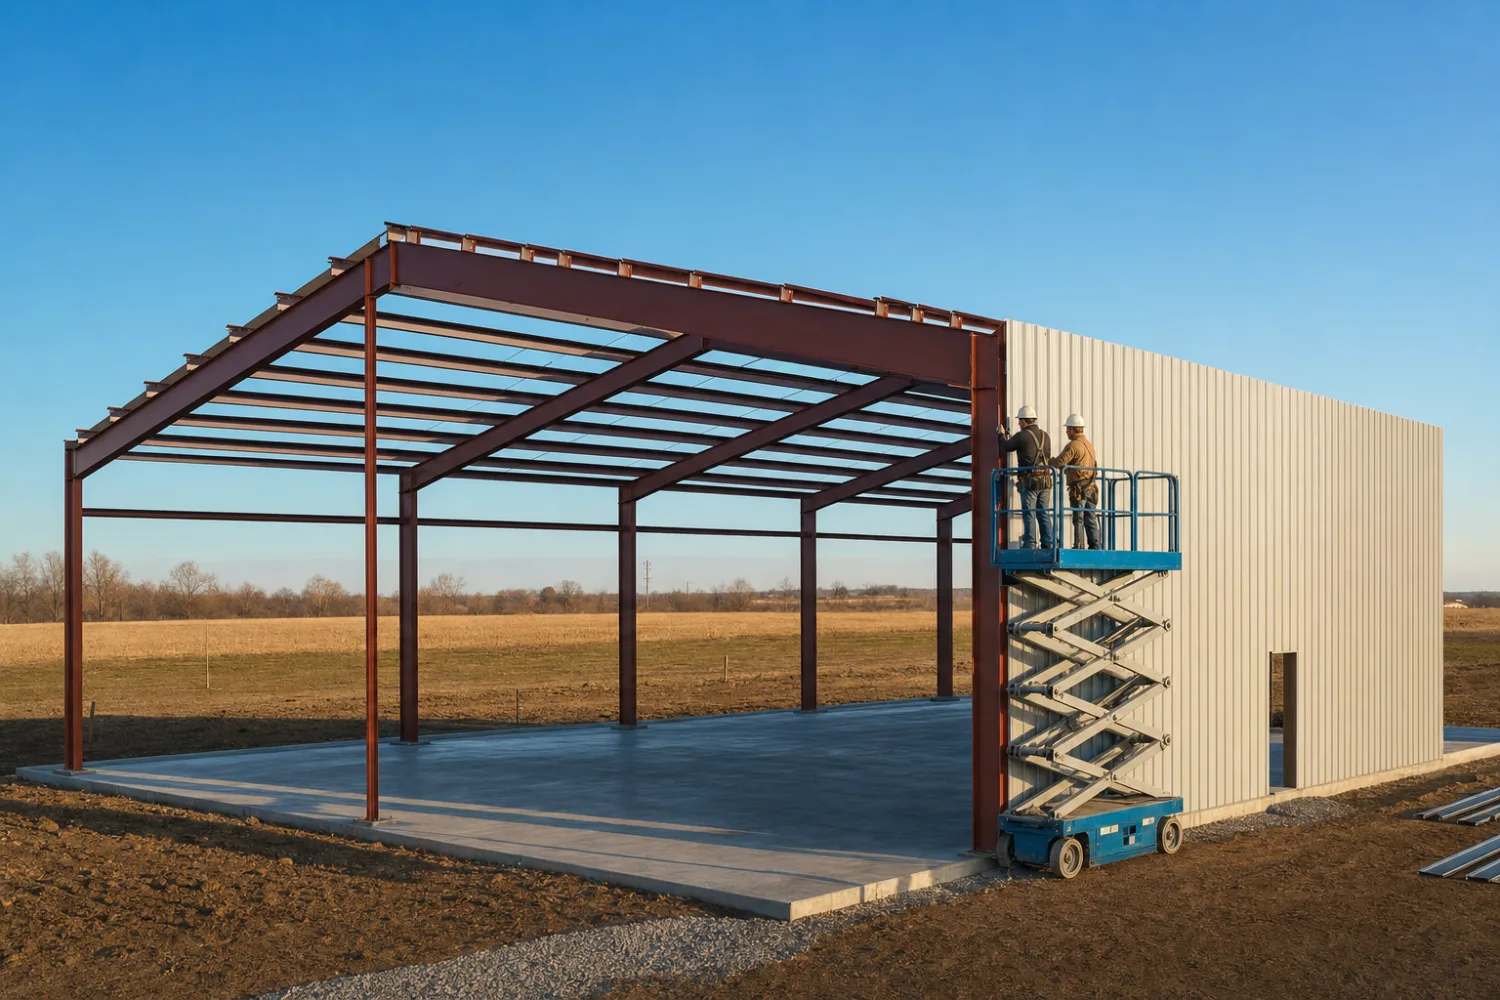
Hand-raising steel is where owners get hurt. A light tube-frame carport can go up by hand with two or three people, but a red iron rafter is too heavy and too high to muscle safely. Match the lift to the steel, not to your optimism, and never put the crew under a load that a machine should be holding. If renting a lift is out of reach, that is the signal to hire a crew for the frame raise and finish the rest yourself, a split our crew-versus-DIY guide walks through.
You can own every wrench and still stall on frame day
Most self-build trouble traces to lifting steel, not turning bolts. A telehandler or boom rental for the frame raise is the difference between a smooth weekend and a dangerous one, so budget for it and book it for the days you raise the frame. Underbooking the lift is a common way owners stall mid-raise with steel on the ground and no way to set it.
Fastening and layout
The hand tools that fasten and square the frame
Fastening a bolt-up kit takes two power tools and a way to confirm torque: an impact wrench drives the structural frame bolts, and a self-drilling screw gun fastens the roof and wall panels. A mid-size cordless impact wrench handles most kit bolts ‹confirm›, and the screw gun wants a depth-sensing clutch so it seats panel screws without crushing the washer. Add a torque wrench to verify the structural connections, a full socket set to match your bolt sizes, and a few drift pins to line up holes that sit a hair off.
Layout tools keep the building square and plumb, and they earn their place from the first measurement. A tape, a chalk line, a level, a string line, and a framing square set the frame true, and a laser level speeds up checking that columns are plumb and eaves are level across a long wall. Check the diagonals before you trust the corners, because a square base is what lets the pre-punched holes line up later. Safety gear rounds out the kit: hard hat, gloves, eye protection, steel-toe boots, and a fall harness with an anchor point the moment anyone leaves the ground.
What you skip
What you do not need: no welder, no steel saw
You do not need a welder or a steel saw to build a bolt-up kit. The factory already cut and punched the steel, so the field work is fastening, not fabrication. That is the whole point of a bolt-together design, and it is why most owner-built jobs are bolt-up rather than weld-up. A weld-up building is the exception and does pull in welders, grinders, and saws, which is one more reason to confirm which construction method your kit uses before you buy.
Buy the small tools you will use again, and rent the big machine you will use once. An impact wrench, screw gun, levels, and hand tools are worth owning, because you use them all day and keep them after the build. The lift and the scaffold are worth renting, because you need them for the frame and wall stages only, and a telehandler or boom rents by the day or week ‹confirm›. For how owners plan and budget the whole tool line, see our DIY metal building kits guide, and for the honest read on whether the lift work is within your reach, the can you build it yourself guide.
Related
Read more
The tools are one piece of the assembly decision. Follow these next:
- Metal building construction types (the parent pillar).
- Tools needed to assemble a kit (the full stage-by-stage tool guide).
- Step-by-step assembly overview (the order a kit goes up, tool by tool).
- Can you build a metal building yourself? (the honest DIY read).
- Hiring a crew vs DIY assembly (when to hand off the frame raise).