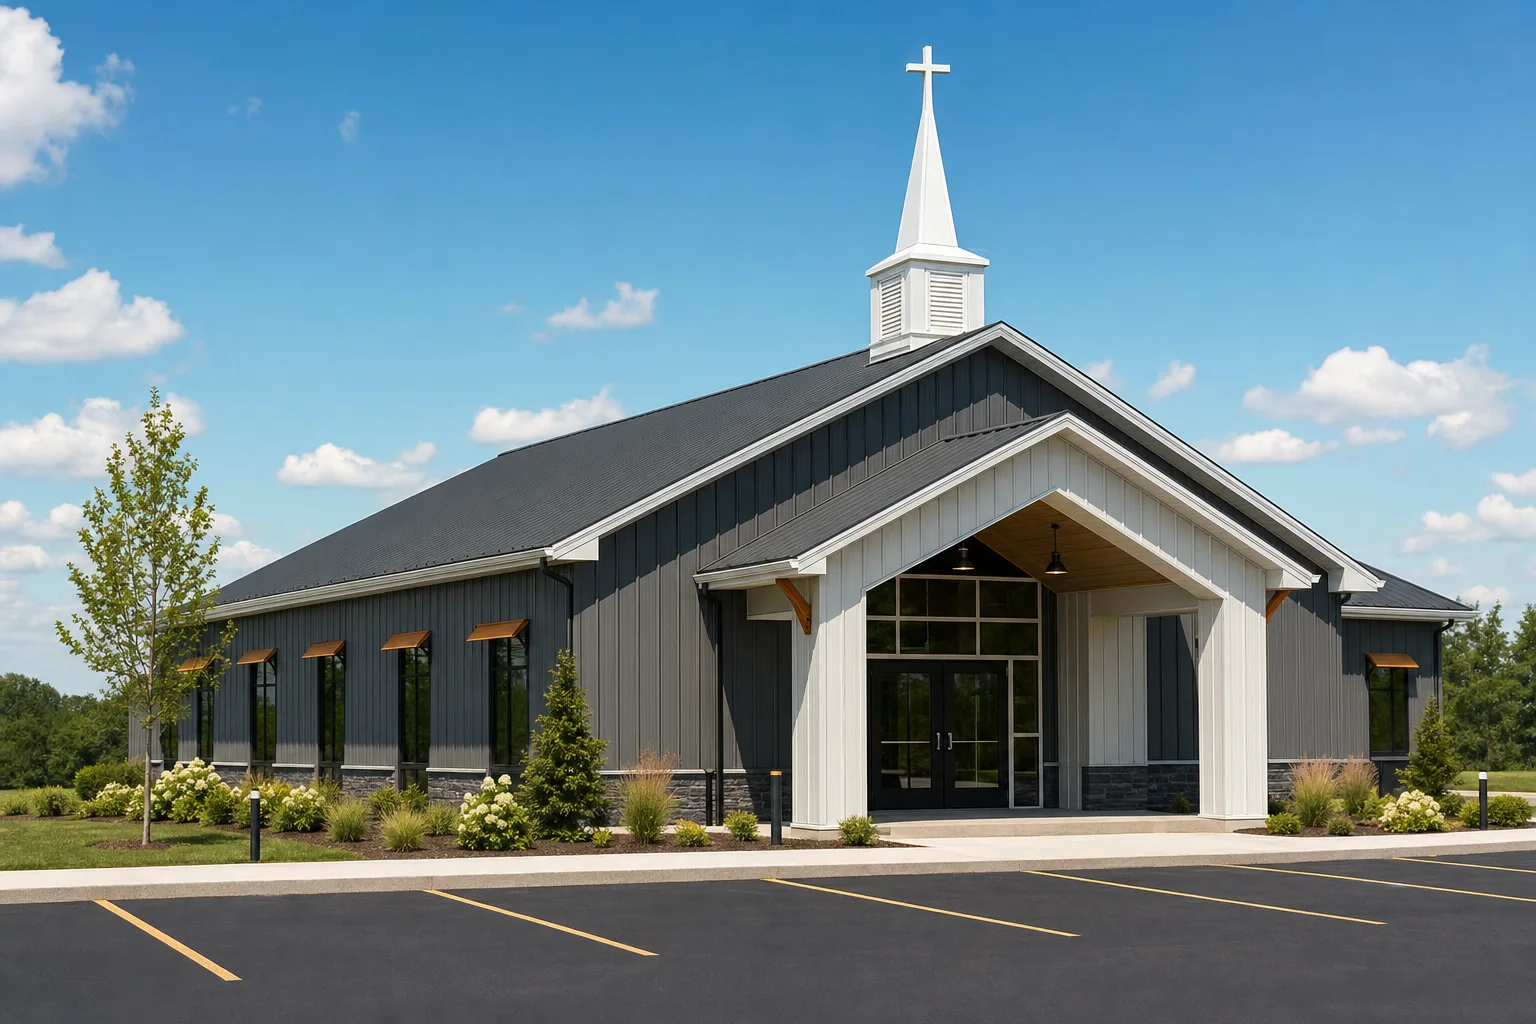
A metal building kit works by shipping every part of a steel shell cut, drilled, and labeled to a stamped engineering plan, so a crew bolts the pieces together on site instead of fabricating them. The primary frame carries the load, secondary framing ties that frame together, and steel panels close it in. Nothing is welded or measured in the field. You assemble what the drawings already designed.
This guide sits under the metal building kits pillar and explains the anatomy behind what a metal building kit is. Below: how a kit goes from engineering to a standing shell, what each layer of steel does, and why a small crew can raise one with hand tools. Read it as the parts list behind every quote you compare.
The big picture
How a kit goes from drawings to a standing shell
A metal building kit is a pre-engineered shell, designed once and packaged as parts. An engineer sizes the frame for your width, height, and local loads, then the plant cuts and drills every member to that plan and stamps a set of drawings. What lands on your slab is a numbered pile of steel and a manual that says where each piece goes.
That front-loaded engineering is the whole point. Because the holes are pre-punched and the parts are labeled, the crew lines up bolt to bolt and tightens. No cutting torch, no field welding, no guesswork on the slab. The order of work is steady: set the columns, raise the rafters, run the secondary framing, then hang the panels and trim.
The result is a building that goes up fast and inspects cleanly, because the stamped plan already proved the structure. For the broader picture of how these kits are framed and assembled, see our construction types and DIY guide. The anatomy below is the same on almost every kit, from a small garage to a clear-span shop.
Primary frame
The primary frame carries the load
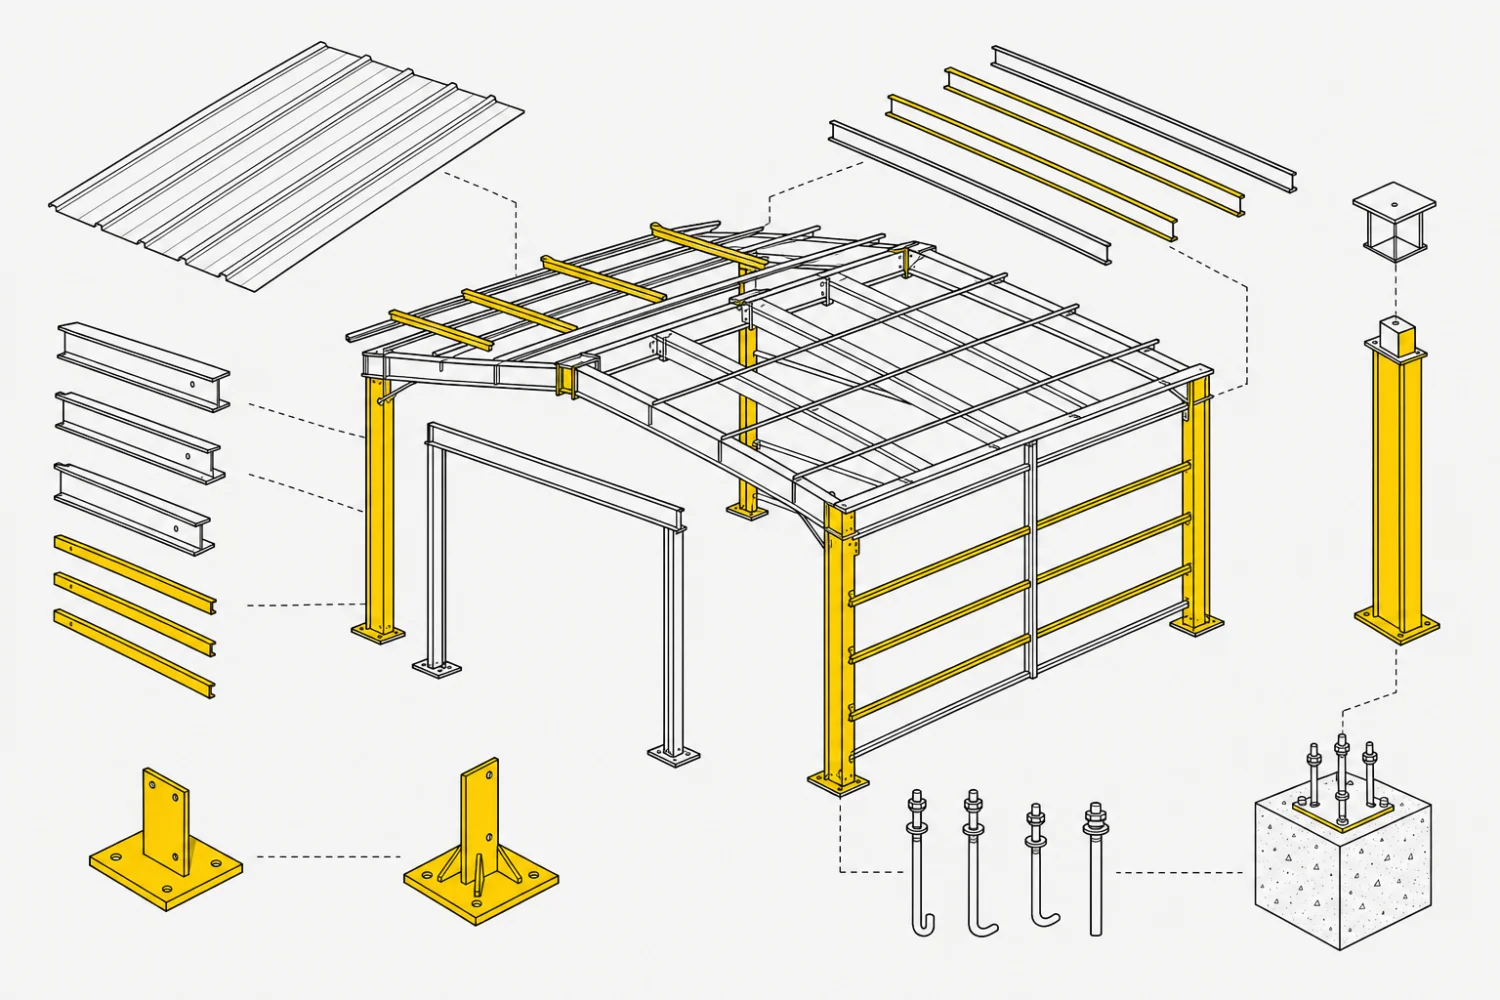
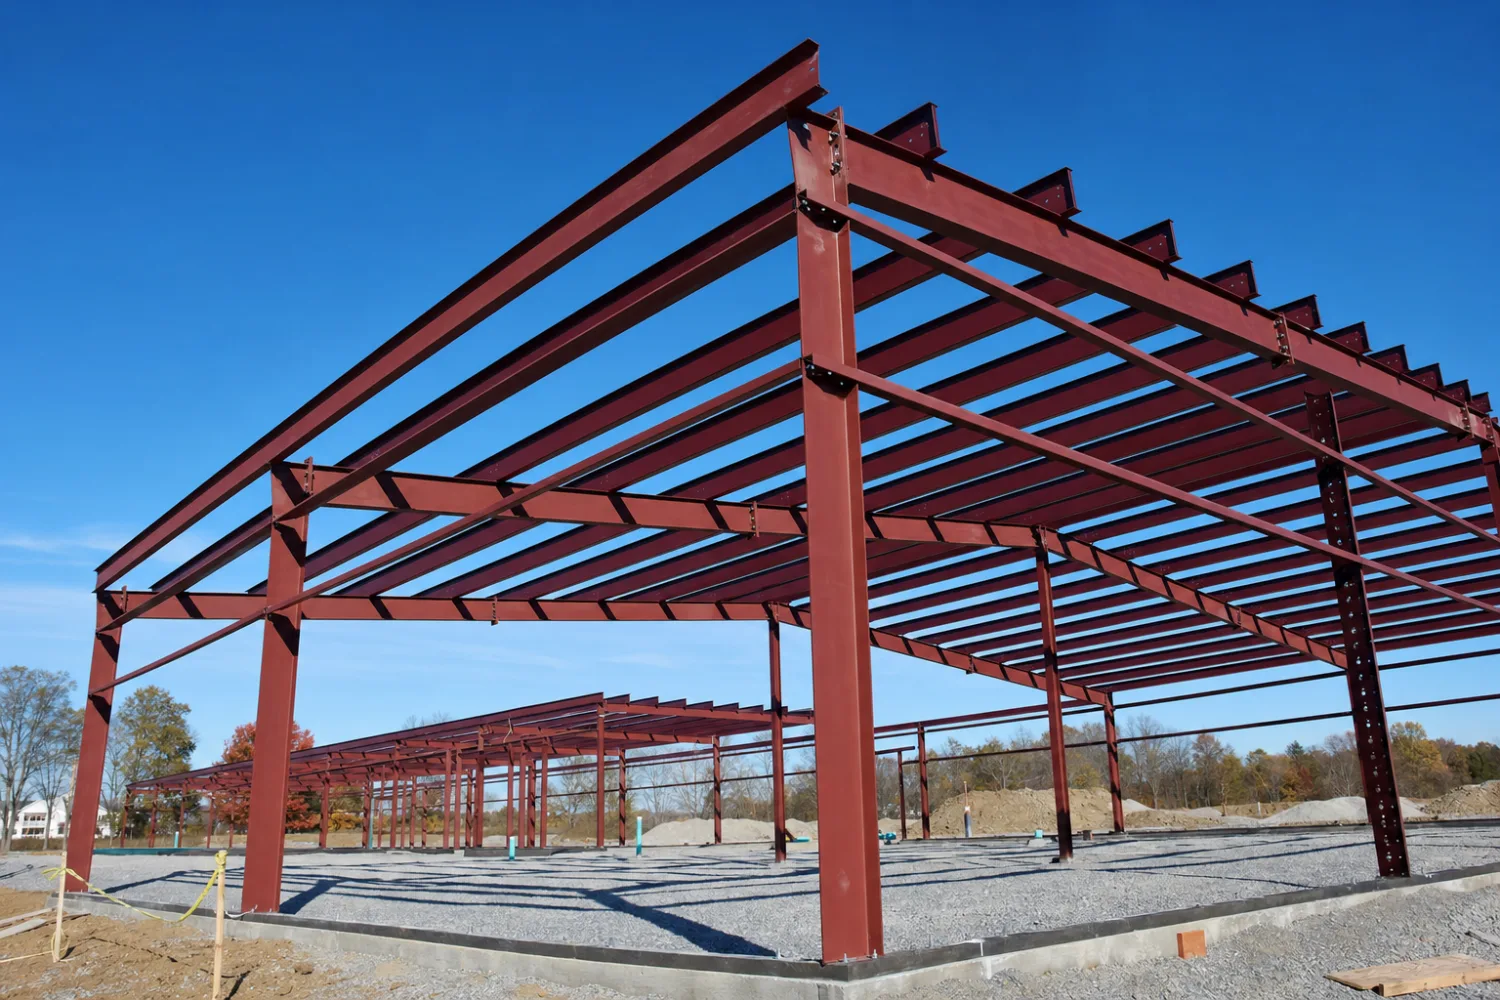
The primary frame is the skeleton. Its columns and rafters carry the entire load of the building, the roof weight, the snow on top, and the wind against the walls, and send it down to the foundation. Everything else hangs off this frame.
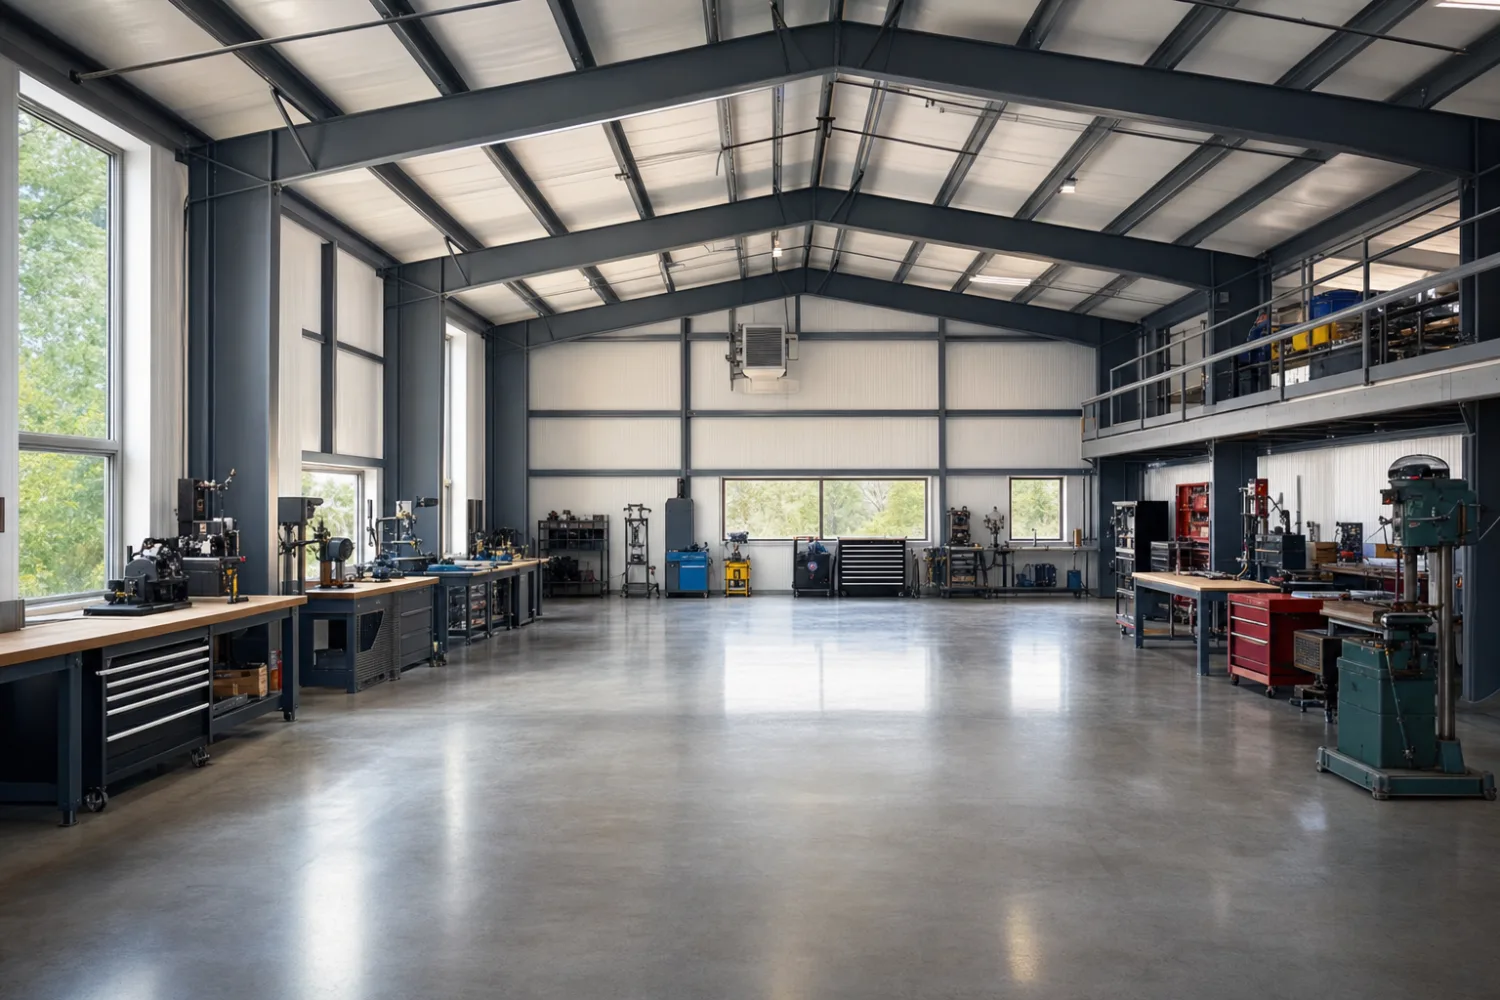
On a clear-span kit the rafters meet at the ridge and run unbroken to the columns, so the floor stays open with no posts in the middle. That reach is why most shops and barns use heavy structural steel for the frame. If you are weighing the frame material, our red iron vs tube steel guide breaks down which one fits which span and load.
Columns stand at each sidewall, rafters span across the top, and the two bolt together at a haunch, the reinforced knee where column meets rafter. Endwall framing closes the two short ends. Diagonal cables or rods, called bracing, keep the frame from racking in the wind. Together these members form the rigid bents that the rest of the kit attaches to.
Secondary framing
Purlins and girts tie the frame together
Secondary framing is the lighter steel that spans between the main frames and gives the panels something to attach to. Purlins run horizontally across the rafters to back the roof; girts run horizontally along the columns to back the walls. They are the layer between the heavy frame and the thin skin.
These members do two jobs at once. They hold the panels flat and straight over a long span, and they spread wind and snow load off the panels and into the primary frame. Without them the panels would have nothing to screw to every few feet, and the frame would carry its loads in isolated points instead of an even spread.
Most kits roll purlins and girts in a C or Z shape from lighter-gauge steel, since they back the panels rather than carry the building. The gauge of that steel is worth checking on a quote, because thinner secondary framing is a common place to shave cost. Eave struts run along the top of the wall where roof meets wall, doing both jobs at the corner.
The panels
Roof and wall panels close in the shell
The panels are the steel skin. Roll-formed sheets screw to the purlins and girts to shed water, block weather, and give the building its finished look. They are the part you see and the part that takes the rain, so the panel and its coating decide how the shell ages.
Panels come in profiles, the rib pattern pressed into the sheet for stiffness and drainage. Some screw through the face into the framing; standing-seam roofs hide the fasteners in a raised seam. The profile you pick shapes both the watershed and the curb appeal, which our roof styles guide walks through in detail.
Panel steel is sold by thickness and coating, two numbers that move both price and lifespan. A thicker panel dents less and spans farther; the coating decides how it fights rust. Match the panel gauge to your climate and exposure rather than to the lowest line on the quote, because the skin is what stands between the frame and the weather for the life of the building.
Fasteners and trim
Fasteners, trim, and closures hold it together
Bolts and screws lock the whole kit together. Structural bolts join the frame at the haunches and bases; self-drilling screws fix the panels to the secondary framing. These small parts carry a large responsibility, because a shell is only as sound as its connections, and every one is specified on the plan.
Trim caps the edges where panels meet or stop. Ridge cap closes the roof peak, rake and corner trim finish the edges, and base trim seals the bottom of the walls. Beyond a clean look, trim keeps wind-driven rain from working into the seams that raw panel edges leave open.
Closures and sealant fill the gaps that ribbed panels leave at the eave and ridge. Foam closure strips match the panel profile and plug the corrugations; butyl tape and sealant seal the laps. These are the small parts that keep weather, insects, and drafts out, and the items most often shorted on a cheap kit.
A metal building shell is only as strong as its connections. The frame gets the attention, but the bolts, screws, closures, and trim are what turn a stack of steel into a weather-tight building.
Drawings and template
The stamped drawings and anchor template
Every kit ships with a set of engineer-stamped drawings, the documents that make the steel buildable and the building permittable. They show each member, each connection, and the loads the frame is designed to carry. The stamp is an engineer certifying that the design meets code for your site.
The anchor bolt plan comes first in the build order, because it sets the bolts in the slab before any steel arrives. It is a template that locates every anchor to a fraction of an inch, so the columns drop straight onto their bases. Get this plan to your concrete crew early, since the foundation has to cure before the frame goes up. The kit contents guide lists which drawings come standard.
Every part is labeled, and the manual maps it
On a quality kit, each member is marked to match the drawings, so the crew reads a label, finds the part on the plan, and bolts it where it belongs. The erection manual walks the order step by step. Confirm the drawings, anchor plan, and parts list are part of the package before you buy, and use the glossary to decode any term on the plan you do not recognize.
How it ties together
How the parts tie together so a crew can bolt it up
Read top to bottom, the kit is a stack of layers, each one supporting the next. The frame carries the load, the secondary framing spreads it and backs the skin, the panels close it in, and the fasteners and trim lock and seal every joint. Here is the whole anatomy in one view:
| Part | Its job | Why it matters |
|---|---|---|
| Primary frame (columns & rafters) | Carries roof, snow, and wind load to the slab | Sets the clear span and the strength of the shell |
| Secondary framing (purlins & girts) | Spans between frames and backs the panels | Holds panels flat and spreads load to the frame |
| Roof & wall panels | Shed water and enclose the building | The weather skin and the finished look |
| Fasteners (bolts & screws) | Lock every joint and panel in place | The shell is only as sound as its connections |
| Trim & closures | Cap edges and seal the gaps | Keep wind-driven rain, pests, and drafts out |
| Anchor bolts & bases | Tie the frame to the foundation | Resist uplift and hold the building in place |
| Stamped drawings | Tell the crew what goes where | Make the kit buildable and the build inspectable |
The component layers of a metal building kit, from the load-bearing frame down to the bolts that lock it together.
Because the engineering is done and the holes are pre-punched, a small crew can raise a modest kit with hand tools and a lift for the heavy members. They follow the manual in order, line up the labeled parts, and tighten the bolts the plan calls out. The building is not improvised on site. It is assembled from a design that was already proven on paper.
FAQ
How metal building kits work: common questions
How do metal building kits work?
A kit is a pre-engineered steel shell shipped as parts. An engineer designs the frame for your size and local loads, the plant cuts and drills every member to that plan and stamps the drawings, and a crew bolts the labeled pieces together on your foundation. Nothing is cut, welded, or sized in the field, so the build is assembly rather than fabrication.
What holds a metal building up?
The primary frame, made of columns and rafters, carries the whole load. The columns stand at the walls, the rafters span the roof, and they bolt together to send the roof, snow, and wind load down into the foundation through anchor bolts set in the slab. Bracing keeps the frame from racking in the wind.
What is the primary frame?
The primary frame is the structural skeleton: the columns and rafters that carry every load to the foundation. On a clear-span kit the rafters run unbroken from wall to wall, so the floor stays open with no interior posts. It is usually the single biggest cost in a kit, and the frame material drives how wide and how strong the building can be.
How do the panels attach?
Roof and wall panels screw to the secondary framing, the purlins on the roof and the girts on the walls. Self-drilling screws fix the panels through the face into that steel, while standing-seam roofs clip the panels and hide the fasteners in a raised seam. Foam closures and sealant fill the gaps the panel ribs leave at the edges.
Can a crew bolt one together?
Yes. Because the parts are pre-cut, pre-drilled, and labeled to a stamped plan, a small crew can raise a modest kit with hand tools and a lift for the heavy members. They follow the erection manual in order. Larger clear-span buildings need more equipment and people, but the work is still bolting, not fabricating.
Are the parts pre-cut and labeled?
On a quality kit, yes. Every member is cut to length, drilled at the connections, and marked to match the drawings, so the crew reads a label and finds the part on the plan. That is what separates a true kit from raw steel. Check that the labeled parts, anchor plan, and erection manual are all part of what the kit includes.
Do metal building kits come with engineered drawings?
Most do, and you want them. Engineer-stamped drawings show every member, connection, and the loads the frame is designed for, and they include the anchor bolt plan your concrete crew needs first. The stamp certifies the design meets code for your site, which is what your building department looks for at permit time. Confirm stamped drawings are in the package before you buy.
Related guides
Keep reading
This anatomy connects to the rest of the spec. Follow these next:
- Metal building kits: the complete guide (the parent pillar).
- Construction types & DIY (bolt-up, weld-up, and how kits go together).
- What is a metal building kit? and what is included in a kit (the basics and the parts list).
- Red iron vs tube steel (the frame material that carries the load).
- Steel gauge explained (how frame and panel thickness is measured).
- Metal building roof styles (the panel profiles that shed water).
- Metal building glossary (every part and term defined).