A lean-to is a single-slope roof section attached to the main wall of a metal building, sharing that wall for support and sloping away from it to shed water. It runs the length of a sidewall or endwall and adds covered space without a second freestanding building. People use lean-tos for covered storage, parking an RV or equipment, a porch, or simple shade. You can attach one when the building is built or add it later, and ordering it up front is almost always cheaper.
This guide sits under the metal building kits pillar in our Basics & Buying silo. Below: what a lean-to is and what it is for, attaching one at build time versus adding it later, how to size it, the other add-ons worth knowing about, and rough cost orientation. Sort the add-ons out before you order, because the same lean-to drawn onto the plan costs far less than one bolted onto a finished wall.
What it is
What a lean-to is on a metal building
A lean-to is a single-slope roof section that attaches to the main wall of a building and slopes down and away from it. It leans on the host wall for support, which is where the name comes from, so it needs fewer of its own columns than a freestanding structure. The result is an open or partly enclosed bay running along one side of the building, covered by a roof that drains to the low outer edge.
The roof shape is the same single-slope you see as a standalone roof style, just hung off an existing wall instead of carrying its own full frame. Because it borrows the host wall, a lean-to is one of the cheapest ways to add covered square footage to a metal building. It can run open on the sides for a carport feel, or you can wall it in later for enclosed storage.
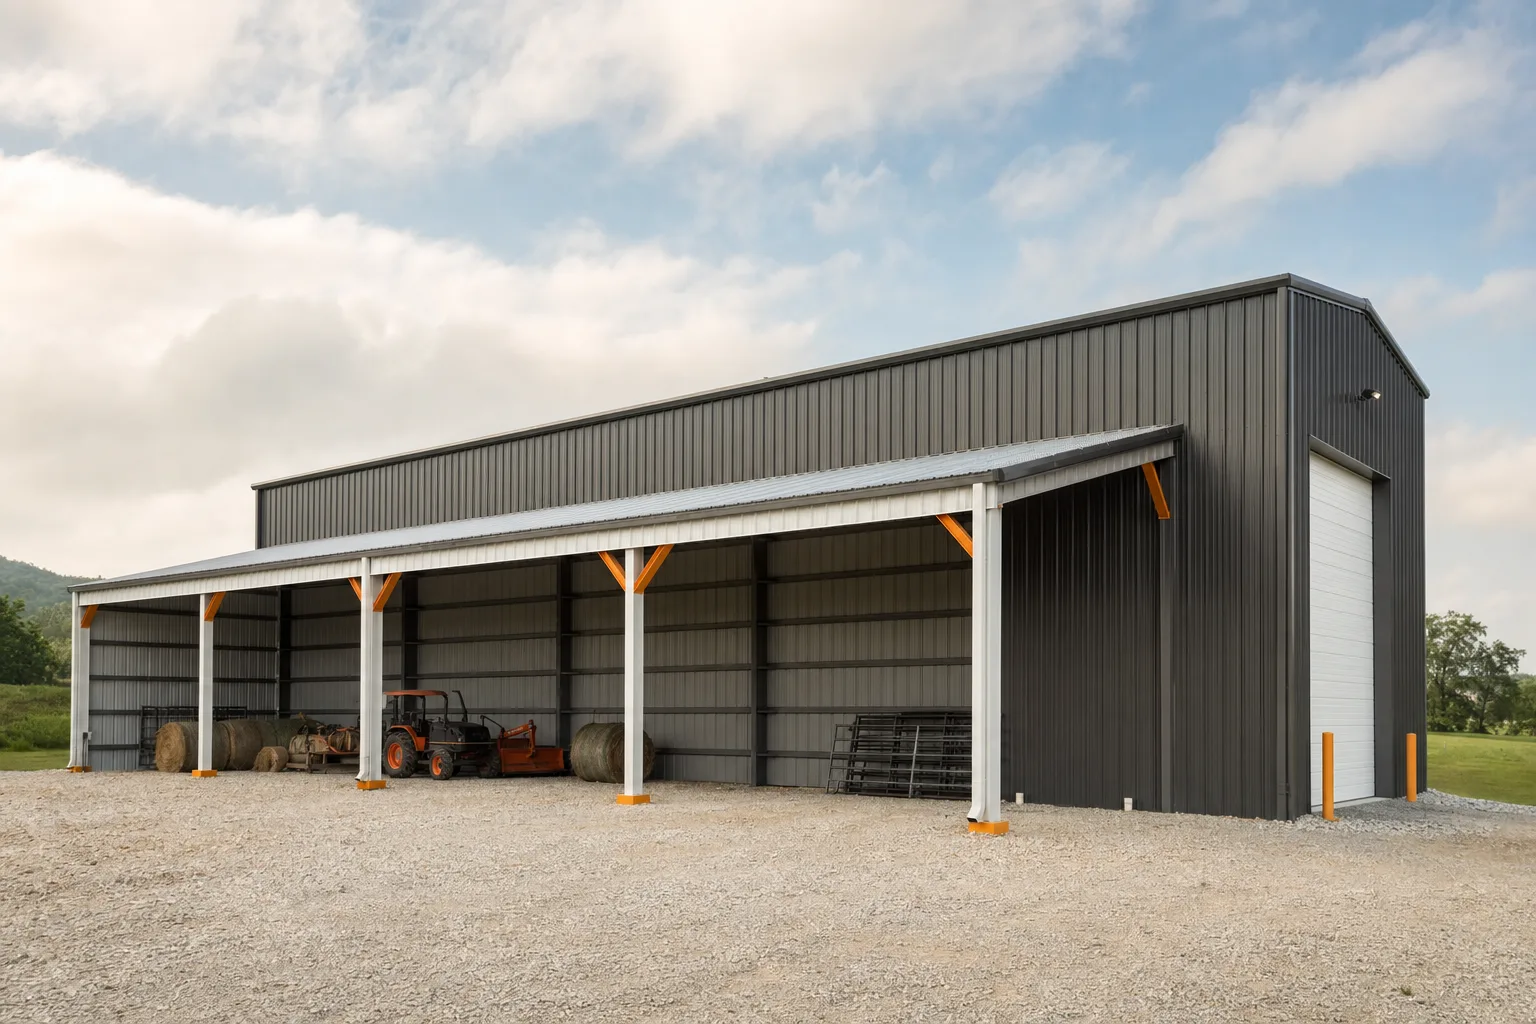
You can hang a lean-to off a sidewall or an endwall, and many buildings carry one on each side. Because the host wall does most of the structural work, a lean-to reads on a quote as an add-on to the main building rather than a building of its own, and it belongs in the same plan as the building you are choosing.
Common uses
What you can use a lean-to for
A lean-to earns its keep as cheap covered space, and the common uses all share that theme: cover something without building a whole second structure. The four you see most are covered storage, vehicle and equipment parking, a porch, and plain shade. Each one wants a slightly different size and finish, but the lean-to does them all off the same host wall.
- Covered storage. A lean-to keeps firewood, lumber, feed, or implements out of the rain without enclosing them. Run it open for airflow, or wall in the back and ends for a lockable bay.
- RV, boat, and equipment parking. A tall lean-to covers an RV, a boat, or a tractor along the side of a shop, cheaper than widening the main building to swallow them.
- A covered porch. On a barndominium or a shop with an office, a lean-to over the entry gives shade, a dry place to stand, and a finished face to the building.
- Shade and a work area. An open lean-to makes a shaded outdoor work bay for a saw, a welder, or a bench, keeping the sun and rain off without giving up the open air.
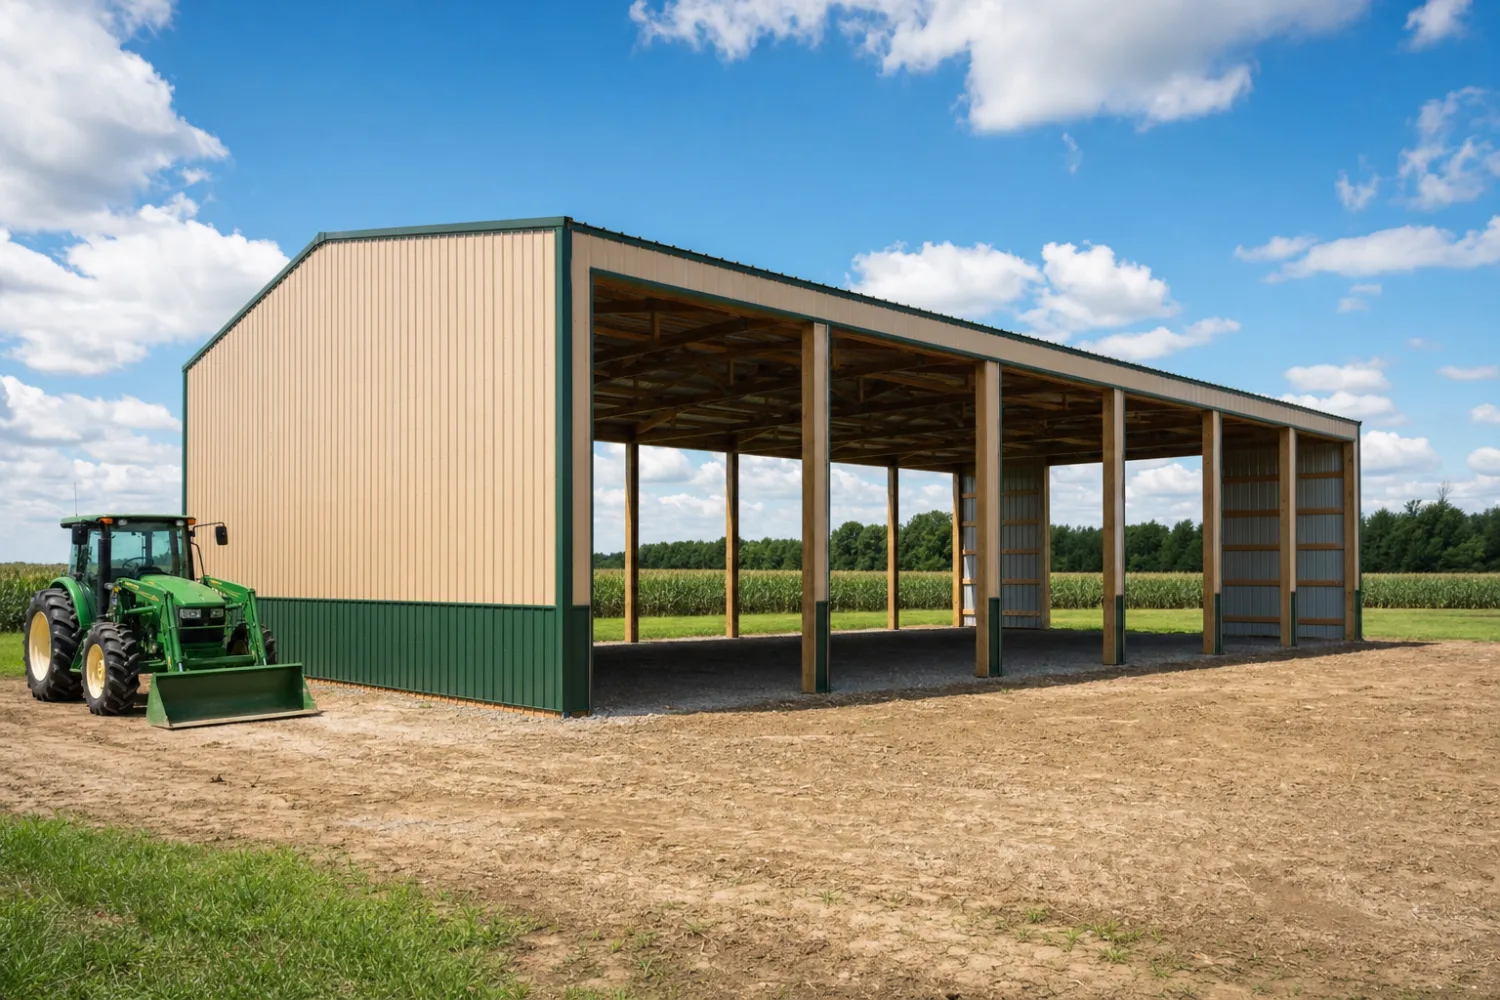
The use drives the size and whether you enclose it. Covered parking wants height and an open front; a storage bay wants walls on three sides; a porch wants finish and trim that match the main building. These are the same outdoor and utility roles that make metal buildings so flexible in the first place, packed into a low-cost add-on along one wall.
When to add it
Attaching a lean-to at build time vs adding one later
Order the lean-to with the building. Attaching it at build time is cheaper, cleaner, and structurally simpler than bolting one on years later, for the same reason every add-on is cheaper up front: the factory engineers the host wall to carry it from the start. A wall designed to hold a lean-to has the right columns, the right anchor points, and the load already accounted for.
Add a lean-to later and you are loading a wall that was sized to stand on its own. That can mean reinforcing the host columns, adding footings, and having an engineer confirm the wall still carries its snow and wind loads with the new roof hanging off it. The lean-to steel itself is similar either way; the cost difference is the retrofit work around it. A wall built ready for the lean-to skips all of that.
Plan the lean-to before the steel ships
Even if you are not ready to build the lean-to now, you can have the building engineered to accept one later. Ask the factory to design the host wall for a future lean-to: the right column spacing, anchor provisions, and load allowance baked into the frame. It costs little at order time and saves the expensive part of a retrofit, the structural rework, when you finally add the cover. Confirm it on the spec sheet the way you would any other framed opening or add-on.
Sizing
How to size a lean-to
Size a lean-to by what goes under it, then by how the roof drains. Start with the clear width and height the use demands, the same measure-first logic you use for the main building, then check that the single slope sends water where you want it. Get those two right and the lean-to works; get them wrong and you have a cover that is too short for the truck or one that dumps runoff against the foundation.
Width sets the depth of the covered bay. A storage lean-to might run 10 or 12 feet deep, while an RV cover wants more. Height matters most for parking: an RV or a tall trailer can need 12 to 14 feet of clearance ‹confirm› at the high side, and because the roof slopes down to the outer edge, the low side is always shorter, so size the clearance at the point the vehicle sits. The how to choose a kit guide walks the same measure-first approach for the whole building.
Length usually follows the host wall, since a lean-to commonly runs the full side of the building, but you can order a shorter run. Then plan the drainage, because all the water sheds off the low outer edge in one line. Aim that edge away from doors, drives, and the slab, and confirm the low side is sized for the snow and wind loads it carries.
Other add-ons
Other add-ons: porches, partitions, openings, and wainscot
A lean-to is one of several add-ons that turn a bare shell into a finished, usable building. The others split into exterior cover, interior space, openings, and finish. Like the lean-to, each is cheaper ordered with the kit than retrofitted, and each belongs on the plan before the steel is cut. Here is how the common add-ons compare:
| Add-on | What it is for | Note |
|---|---|---|
| Lean-to | Covered storage, parking, porch, shade | Single-slope roof off the main wall; cheapest covered square footage, order it up front |
| Porch / canopy | A finished, sheltered entry | A short lean-to or extended-roof cover over a door; sets the face of a shop or barndominium |
| Interior partition | Splitting the floor into rooms | An interior wall framed inside the shell for an office, a tack room, or a heated bay |
| Extra framed openings | Doors and windows | Each opening is engineered into the wall; plan the layout before ordering, not after |
| Wainscot | A two-tone lower wall band | A different panel color on the bottom few feet of wall; finish and curb appeal, ordered at build time |
Common metal building add-ons. Each is cheaper drawn onto the plan than added to a finished building.
The pattern holds across all of them. An interior partition framed at build time uses the shell’s own columns; a partition added later is a stick-built wall inside finished steel. Extra doors and windows drawn before the steel ships are line items, while cutting them in afterward is a small construction project. Wainscot is a color choice that costs almost nothing at order time and a full repaint later. Decide the add-ons early and you pay factory prices instead of retrofit prices.
Cost
What a lean-to and add-ons cost
A lean-to is one of the lower-cost ways to add covered space, because it borrows the host wall instead of carrying a full frame. The price scales with its depth, length, height, and whether you enclose it: an open shade bay runs cheaper than a tall, walled-in RV cover. As a rough orientation, a modest open lean-to adds a few thousand dollars to a build ‹confirm›, far less than widening the main building to the same footprint.
The bigger cost lever is timing, not size. Every add-on here, the lean-to included, costs a fraction up front of what the same change costs as a retrofit, because you pay once for engineering and framing instead of twice. A lean-to ordered with the kit shares the wall it hangs on; one added later pays for reinforcing that wall. The cost guide sets these add-ons against the rest of the spend so you can budget them with the building.
Treat the figures here as illustrative and confirm them against a real quote ‹confirm›, since depth, height, enclosure, and your local loads all move the number. The honest move is to draw every add-on you know you want before you compare prices, so a bare-shell quote is not lined up against a finished plan that includes a lean-to. See how to choose a kit for the rest of that decision.
FAQ
Metal building lean-tos: common questions
What is a lean-to on a metal building?
A lean-to is a single-slope roof section attached to the main wall of a metal building, sloping down and away from it to shed water off the low outer edge. It leans on the host wall for support, so it needs only a line of outer columns rather than a full frame. The result is a covered bay running along one side of the building, which you can leave open like a carport or wall in for enclosed storage.
Can you add a lean-to later?
Yes, but it costs more and takes more work than ordering one with the building. Adding a lean-to later means loading a wall that was sized to stand on its own, which can call for reinforcing the columns, adding footings, and having an engineer confirm the wall still carries its loads. If you might add one someday, ask the factory to engineer the host wall for a future lean-to now. See how to choose a kit for planning the rest of the build.
How much does a lean-to cost?
A lean-to is one of the cheaper add-ons because it borrows the host wall instead of carrying a full frame. As a rough orientation, a modest open lean-to adds a few thousand dollars to a build ‹confirm›, with depth, length, height, and whether you enclose it all moving the number. Treat any figure as illustrative and confirm it against a real quote, since your local loads and the size you choose drive the real price.
What can you use a lean-to for?
The common uses are covered storage, parking an RV, boat, or equipment, a covered porch, and plain shade. A lean-to keeps firewood, feed, or implements out of the rain, shelters a vehicle along the side of a shop, gives a dry entry on a barndominium, or makes a shaded outdoor work bay. Run it open for airflow and access, or wall it in for a lockable, enclosed bay.
Is it cheaper to add a lean-to up front?
Almost always, yes. Ordering the lean-to with the building lets the factory engineer the host wall to carry it from the start, with the right columns, anchors, and load allowance built in. Add one later and you pay to reinforce a wall that was sized to stand alone, plus the retrofit framing and engineering. The lean-to steel is similar either way; the cost difference is the rework, and up front you skip it.
What other add-ons can you order with a metal building?
Beyond a lean-to, the common add-ons are a porch or canopy over the entry, interior partitions that split the floor into rooms, extra framed doors and windows, and wainscot, a two-tone color band on the lower wall. Like a lean-to, each is cheaper ordered with the kit than retrofitted, because the factory builds it into the steel instead of you cutting it into a finished wall later.
Does a lean-to need its own foundation?
It needs support under its outer columns, since only the host wall carries the inner edge. Depending on the design and your loads, that can mean a footing or a slab edge under the outer column line. Plan it with the main building and site so the lean-to foundation is poured with the rest, not cut in afterward, and confirm the detail with your supplier before the concrete goes down.
Related guides
Keep reading
Planning a lean-to connects to the rest of the building decision. Follow these next:
- Metal building kits: the complete guide (the parent pillar).
- Metal building roof styles (the single-slope shape a lean-to uses).
- Doors & windows (the other openings and add-ons you plan up front).
- How to choose a metal building kit (the measure-first logic, building-wide).
- Metal building uses (the jobs a covered add-on helps a building do).
- Metal building cost guide (where lean-tos and add-ons sit in the budget).